
Tuesday Tips and Tricks
Watercolor is a great tool for urban sketching. In this post, I will show you a technique I use frequently in both urban sketching and my professional work.
Watercolor is a great tool for urban sketching. In this post, I will show you a technique I use frequently in both urban sketching and my professional work.
Watercolor is a delicate media and can be frustrating to work with if you do not have some basic steps to work with. Graded washes are a helpful skill to know when wanting to capture light, shade and shadow. In nature, light rarely hits a surface as a flat tone. Factors such as the orientation of the subject, the context of the subject and the direction from which the light is coming from all impact how light appears on the subject.
Here is a step by step process for creating a smooth, graded wash with watercolor, followed by a few practical applications for graded washes:
Creating the Graded Wash:
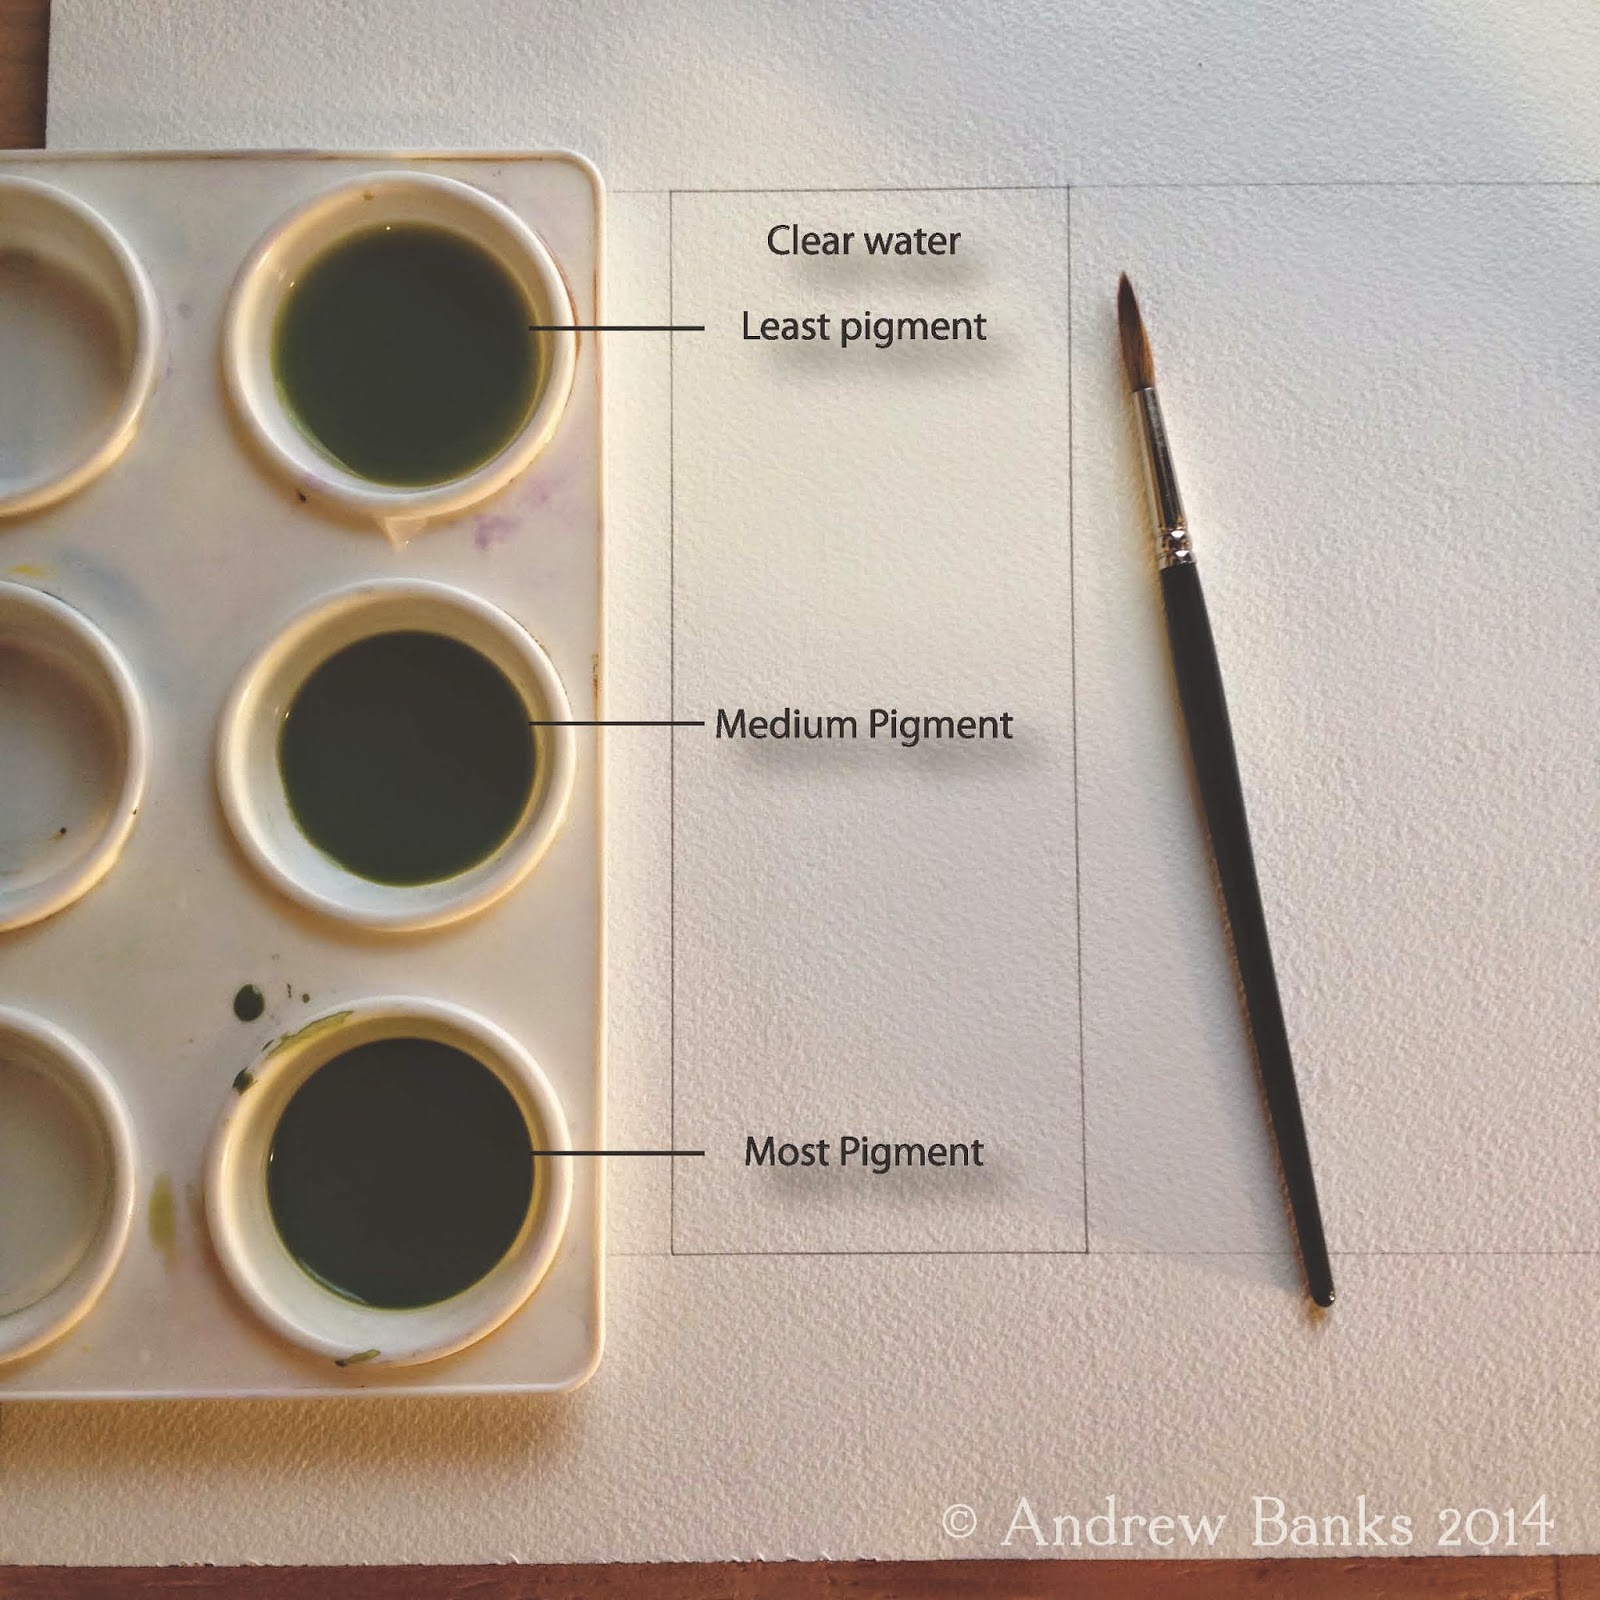
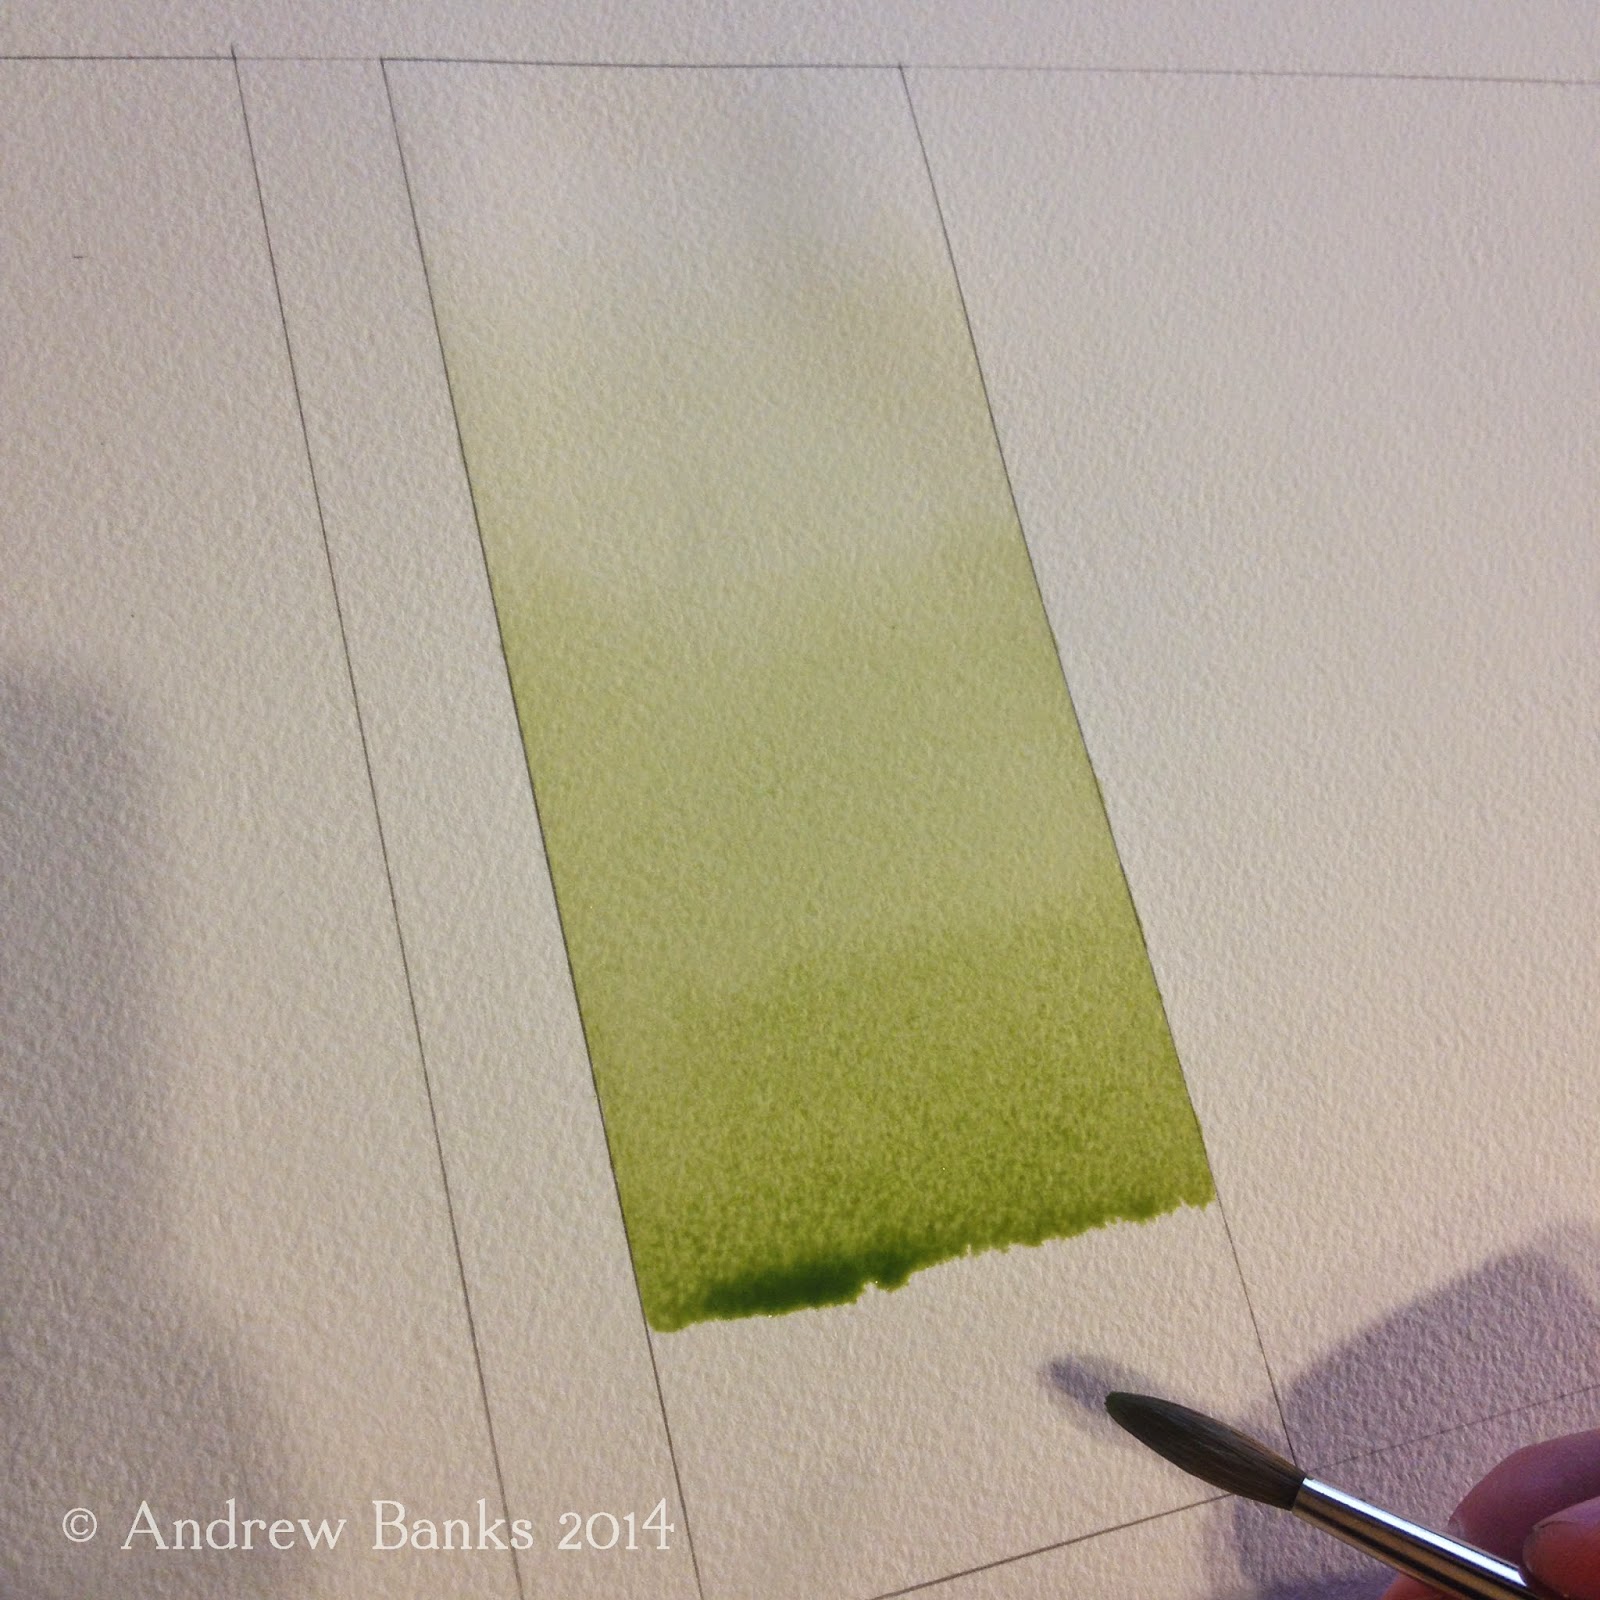
1) Hold your sketchbook or paper at an angle to allow the watercolor to flow down the paper. About a 35 degree angle works well for me. If the angle is too high, the water will drip too fast for you to control. If the angle is too low, the paint will not move fast enough, could cause unwanted buckling of the paper and will not allow for a smooth wash.
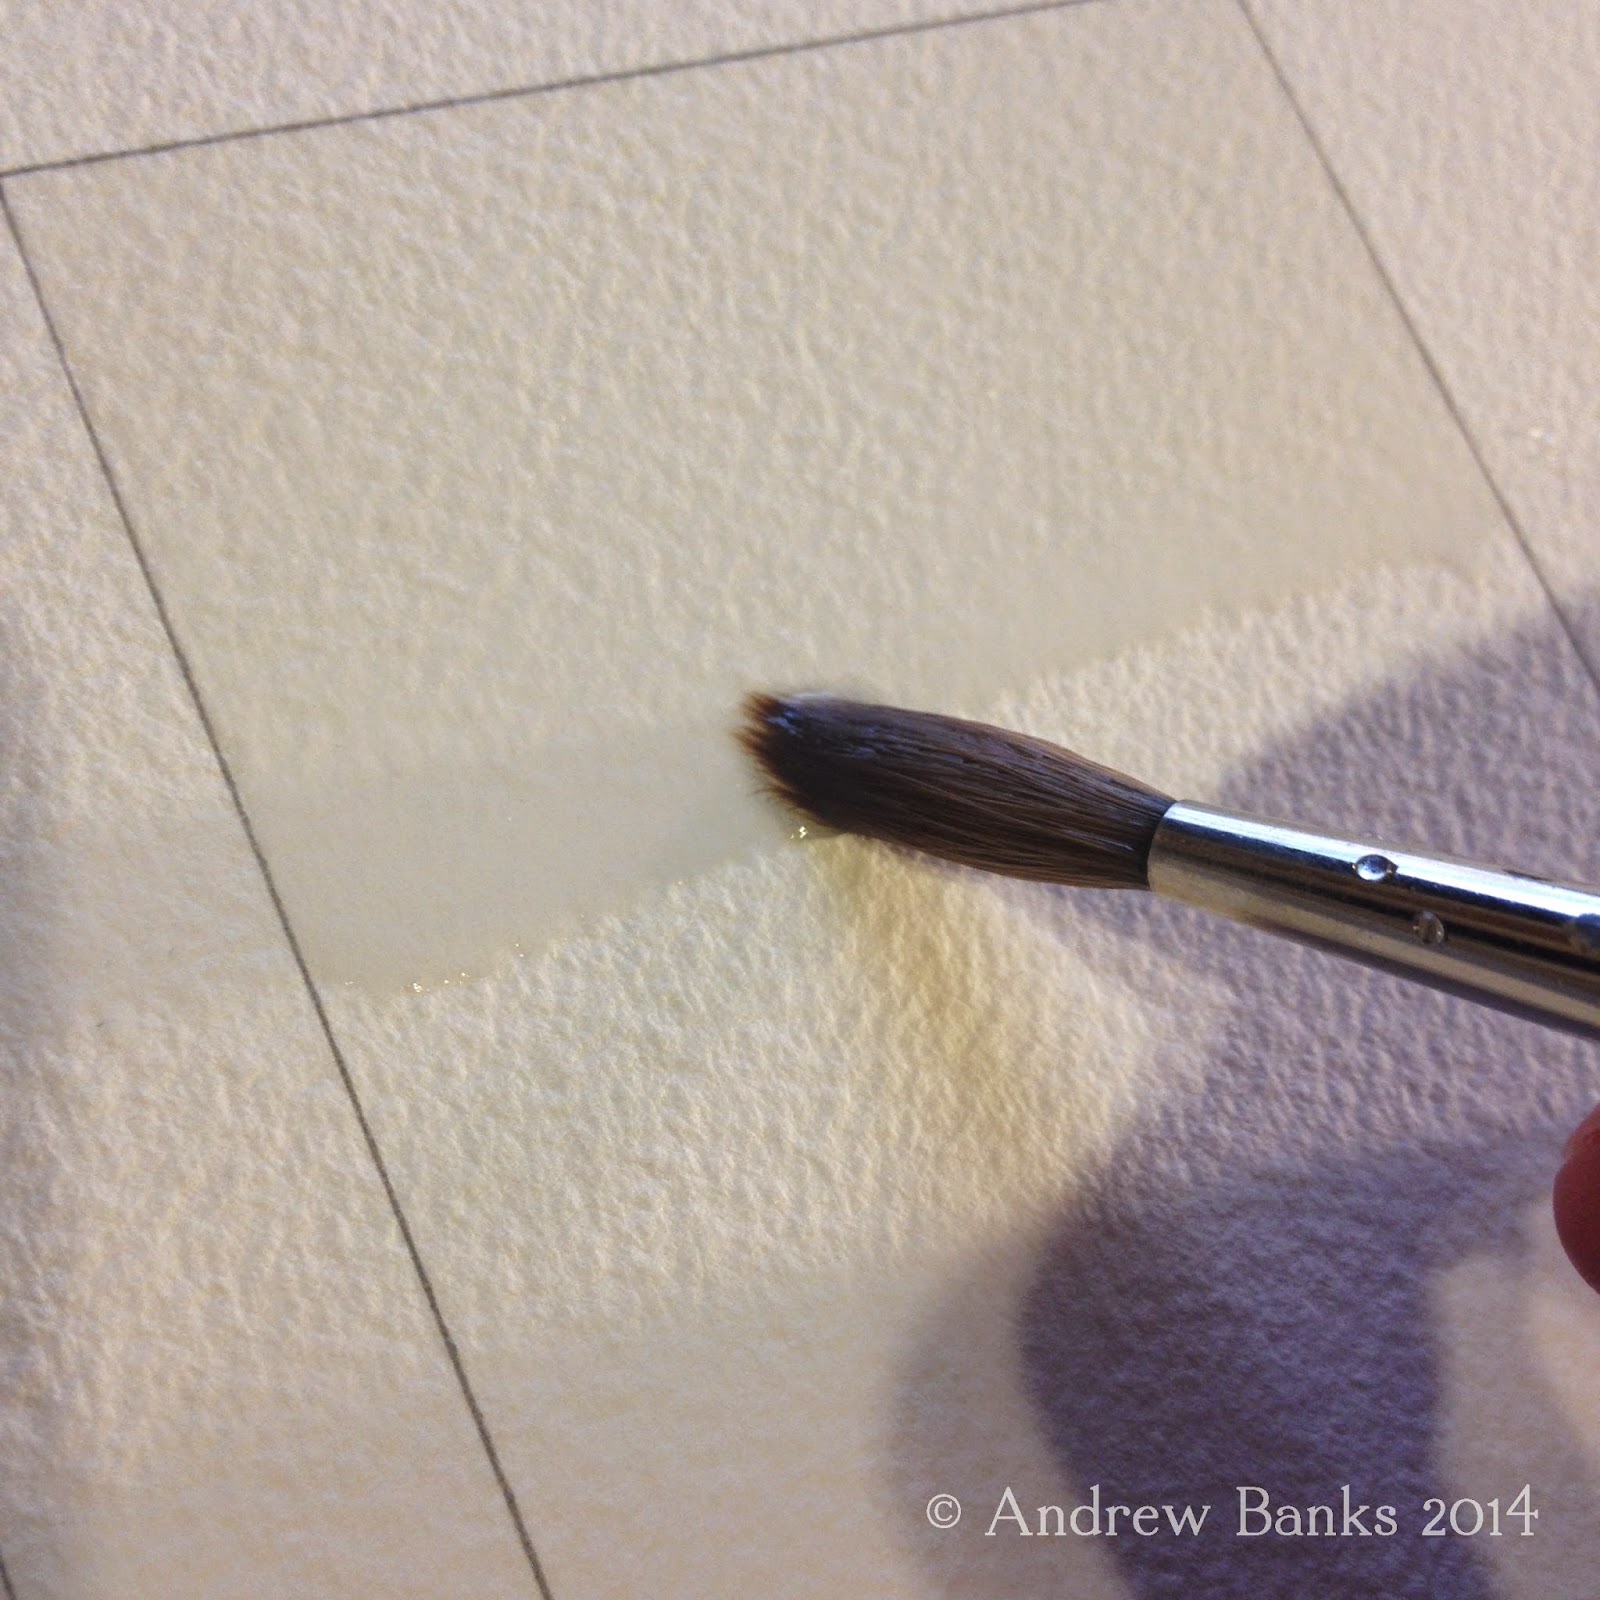
2) Load brush with completely clear water. Apply clear wash to paper, creating a bead, allowing the water to gather slightly. (If your angle is just right, the water will stay where you guide it.) Make sure there is an even amount of water in all parts of the bead.
3) Load your brush with a highly diluted watercolor wash and introduce it into the clear wash before it has time to soak into the paper and dry. With downward brush strokes, pull the bead of paint down the page. You will begin to see the pigment from your brush get pulled into the clear wash.
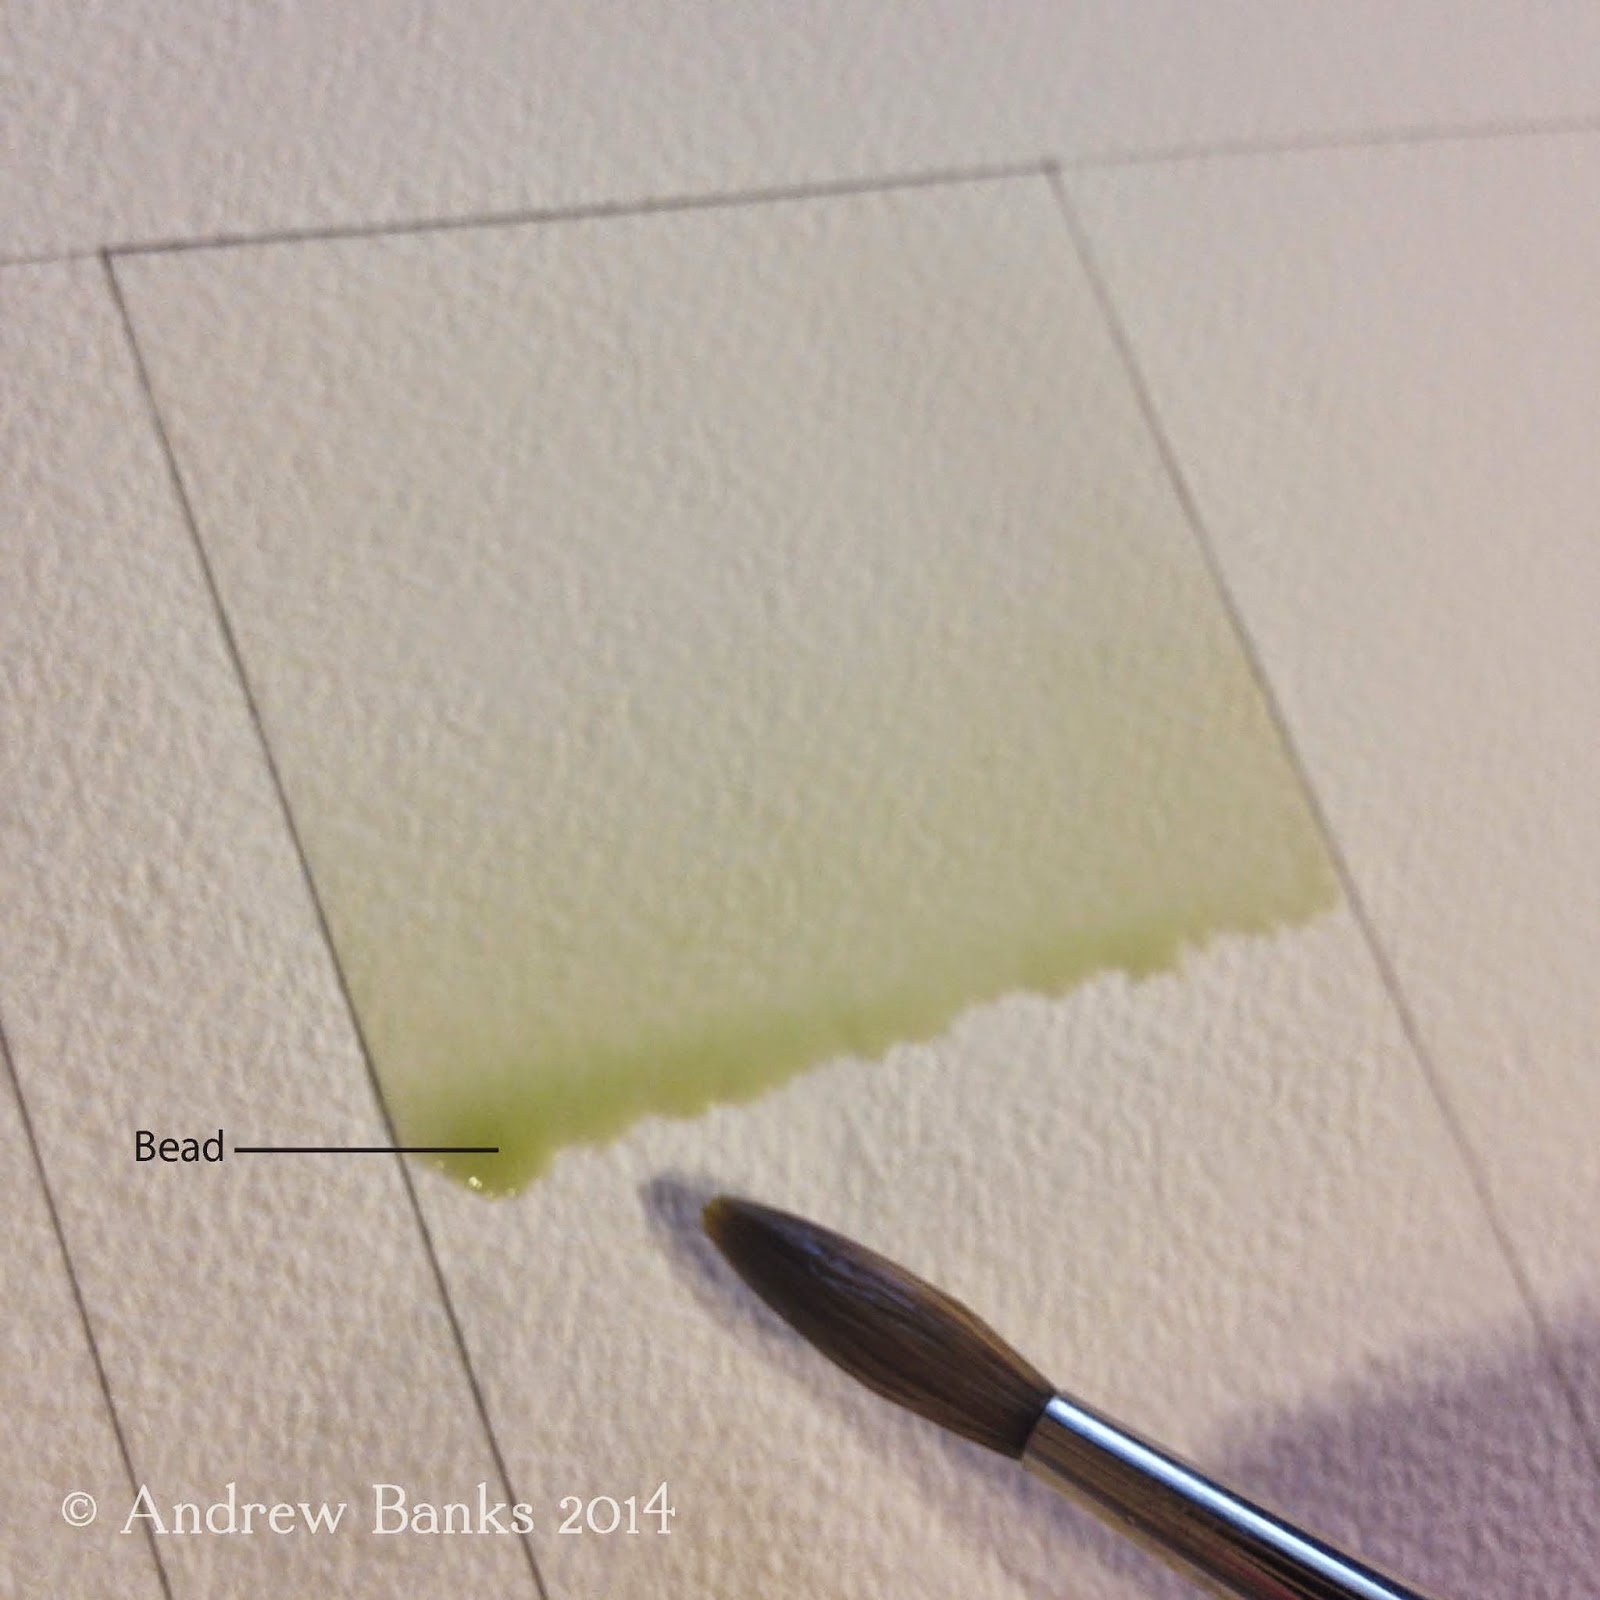
4) Load your brush with a slightly more pigmented wash and introduce it into your bead, continuing to pull it down the page. (Work on doing this quickly. If you allow the bead to dry, you will be left with a line of color that will interrupt the graded wash).
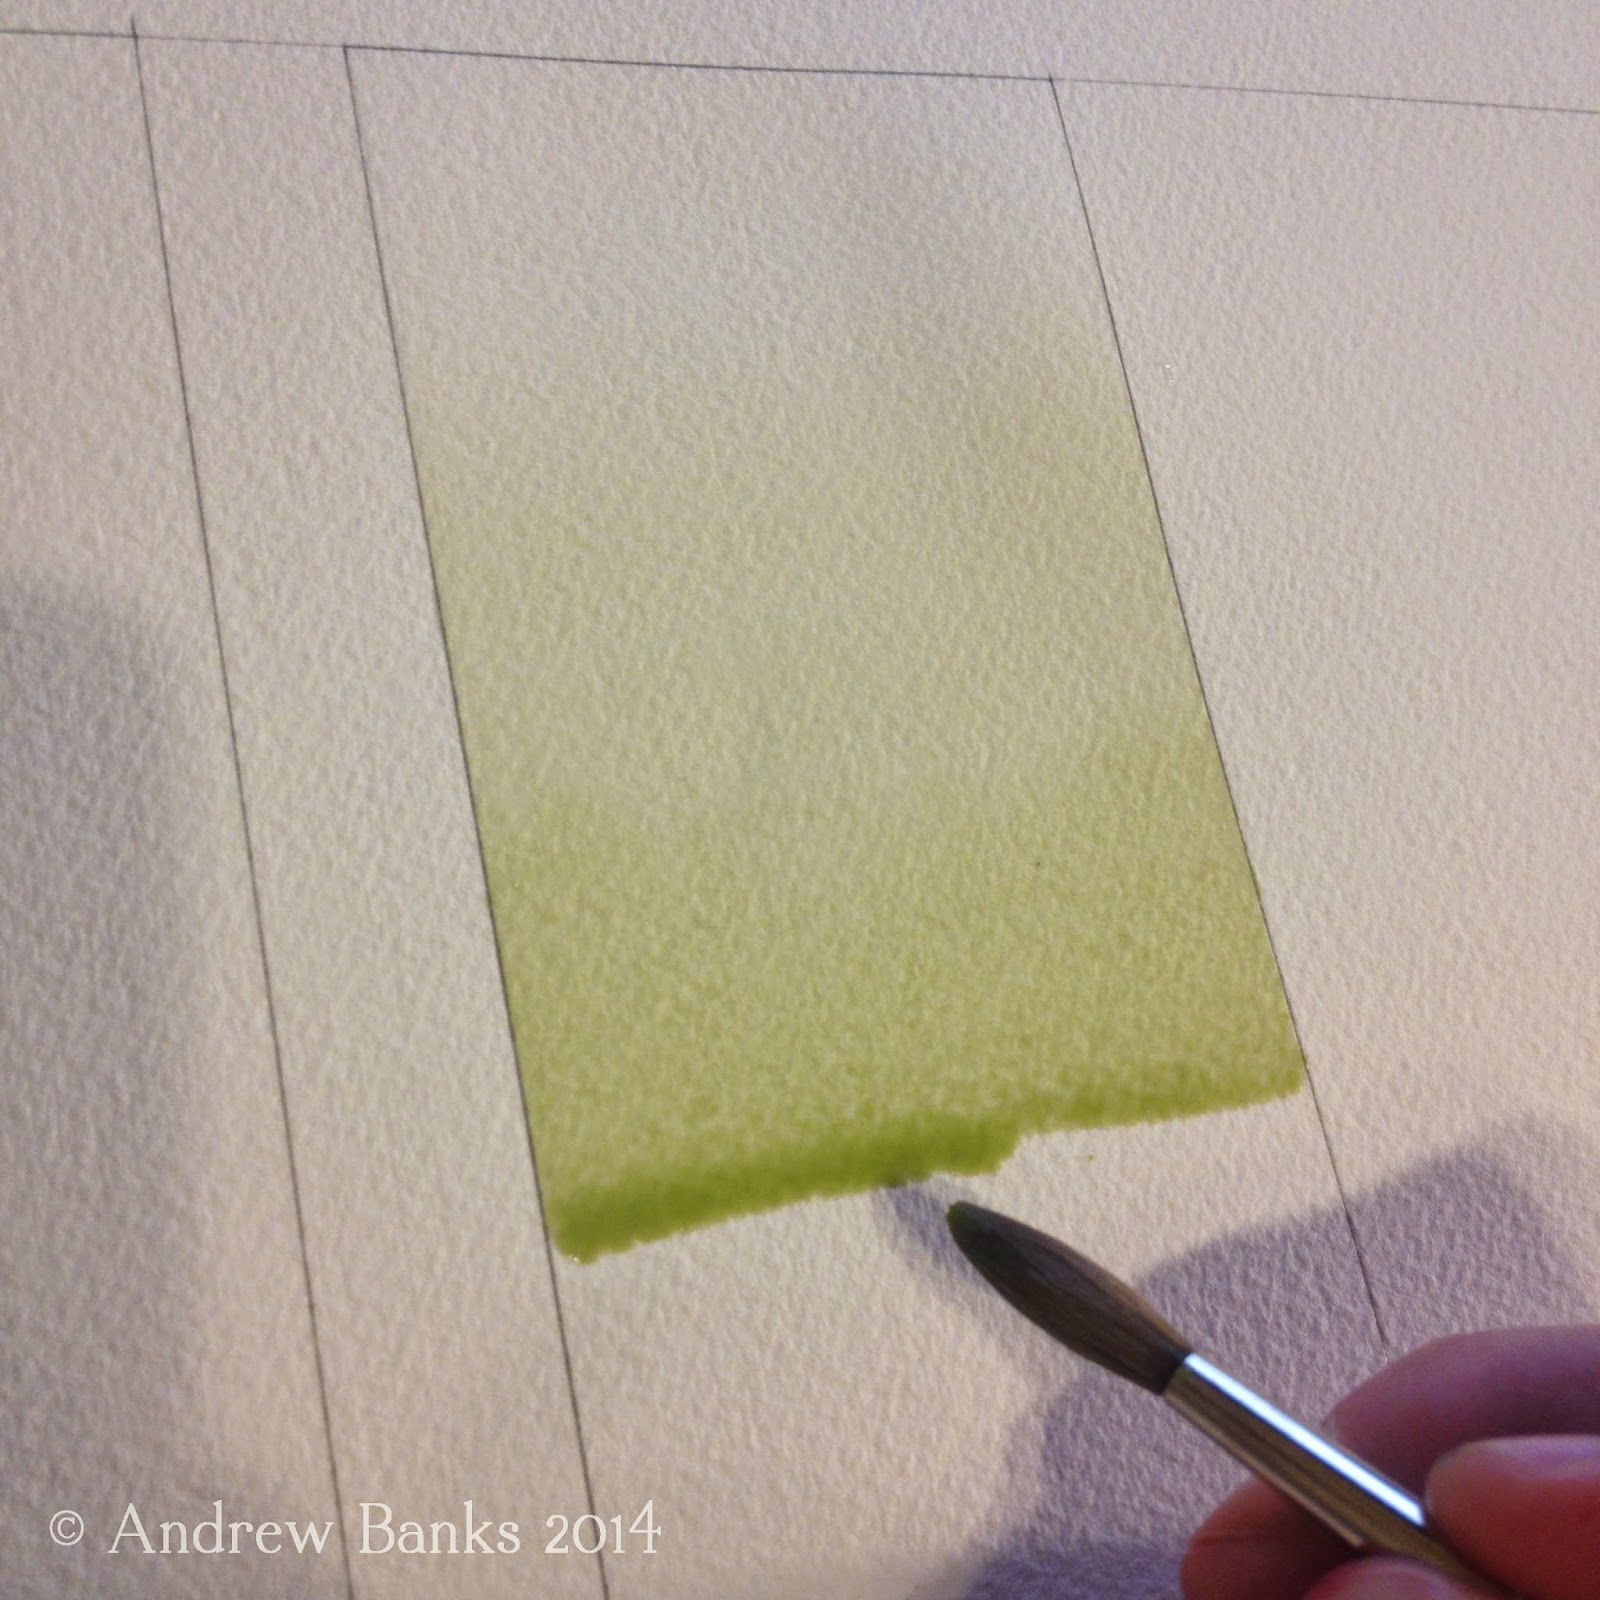
5) Load your brush with the highest pigmented wash and continue to pull the bead downward.
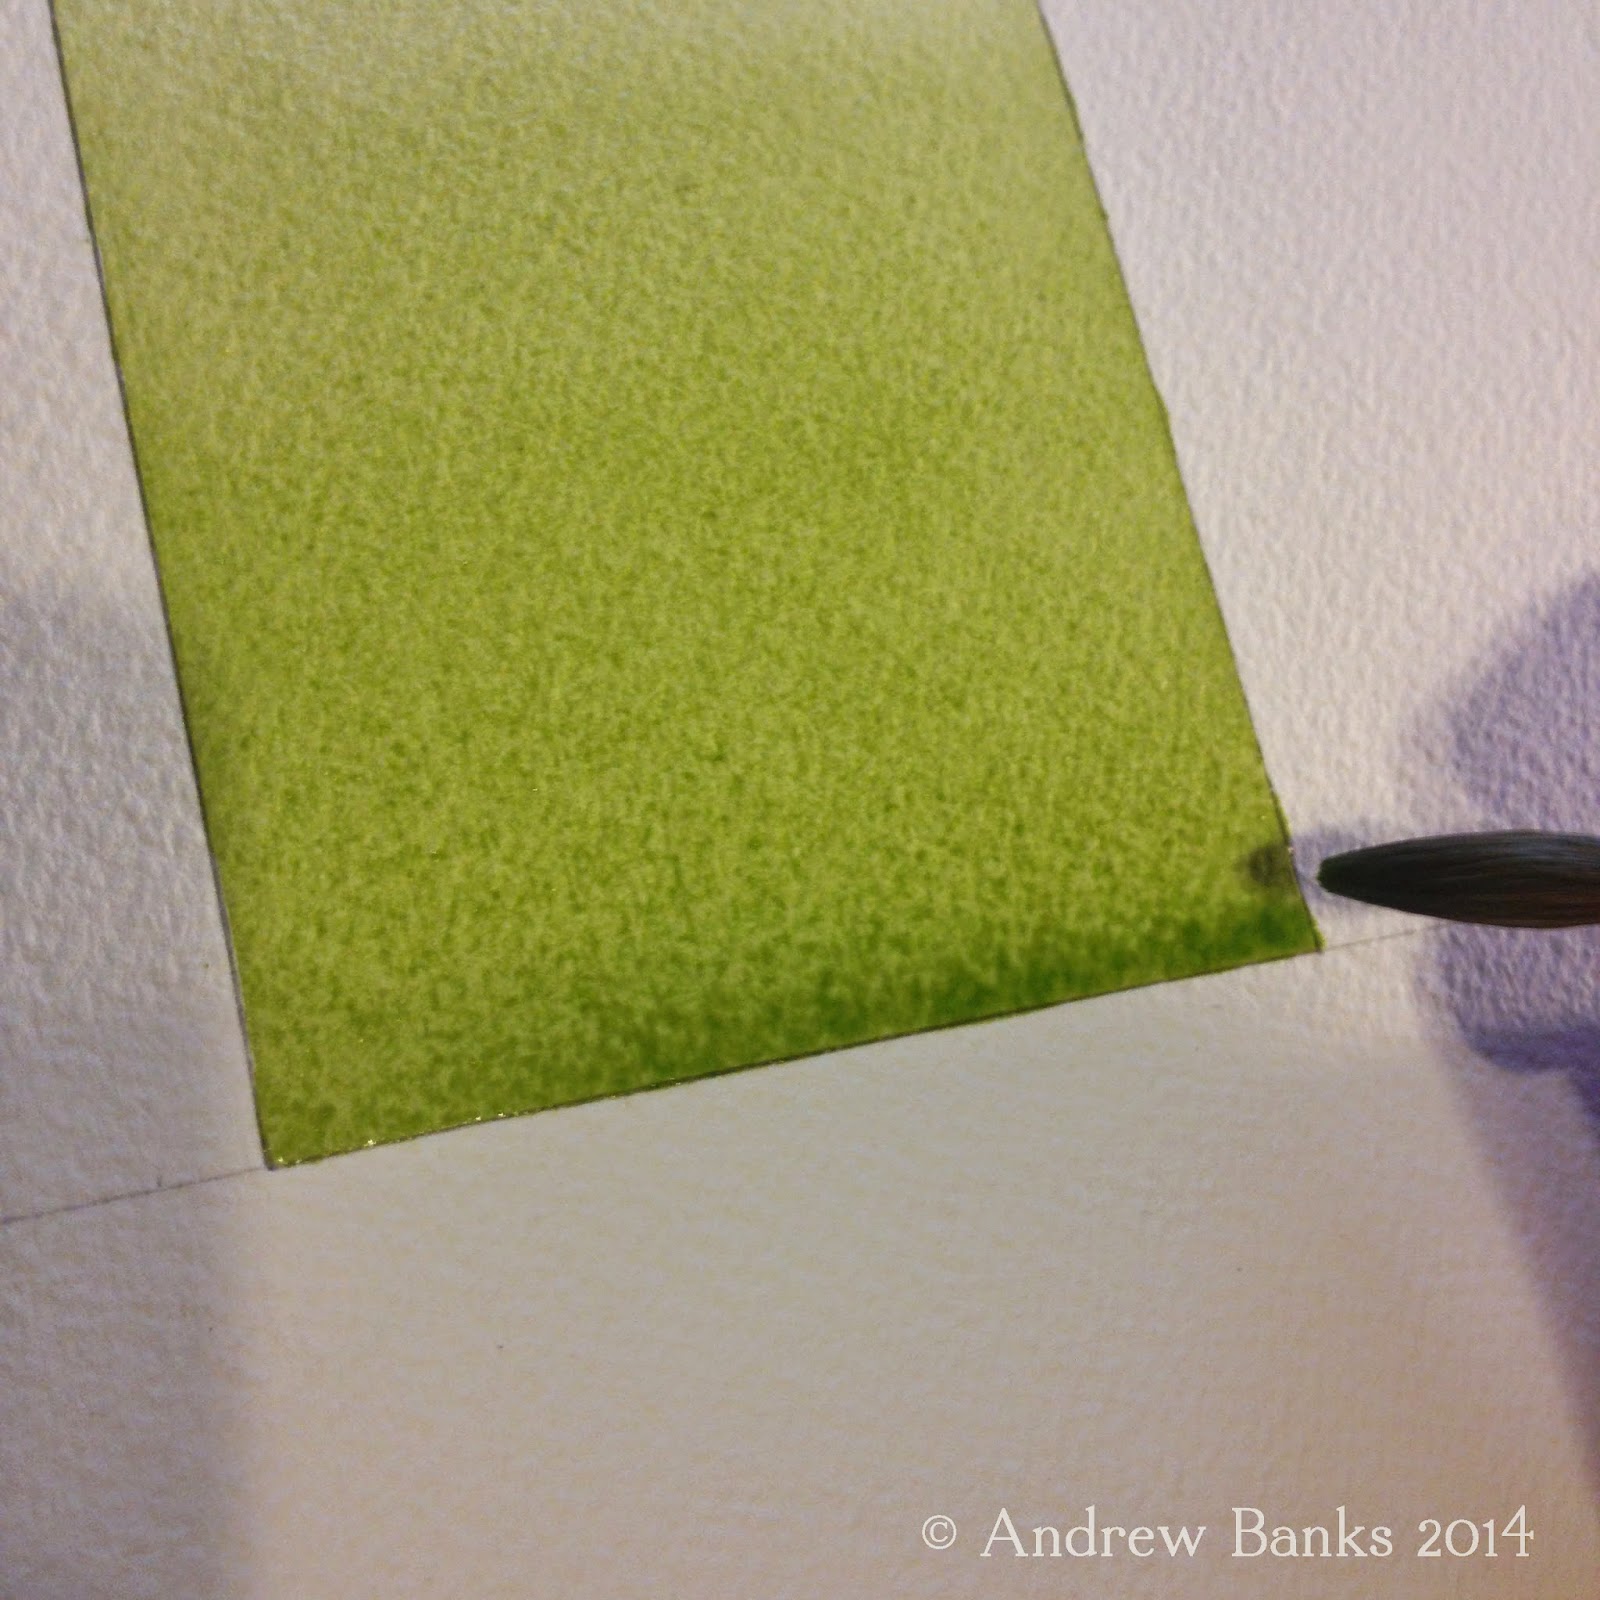
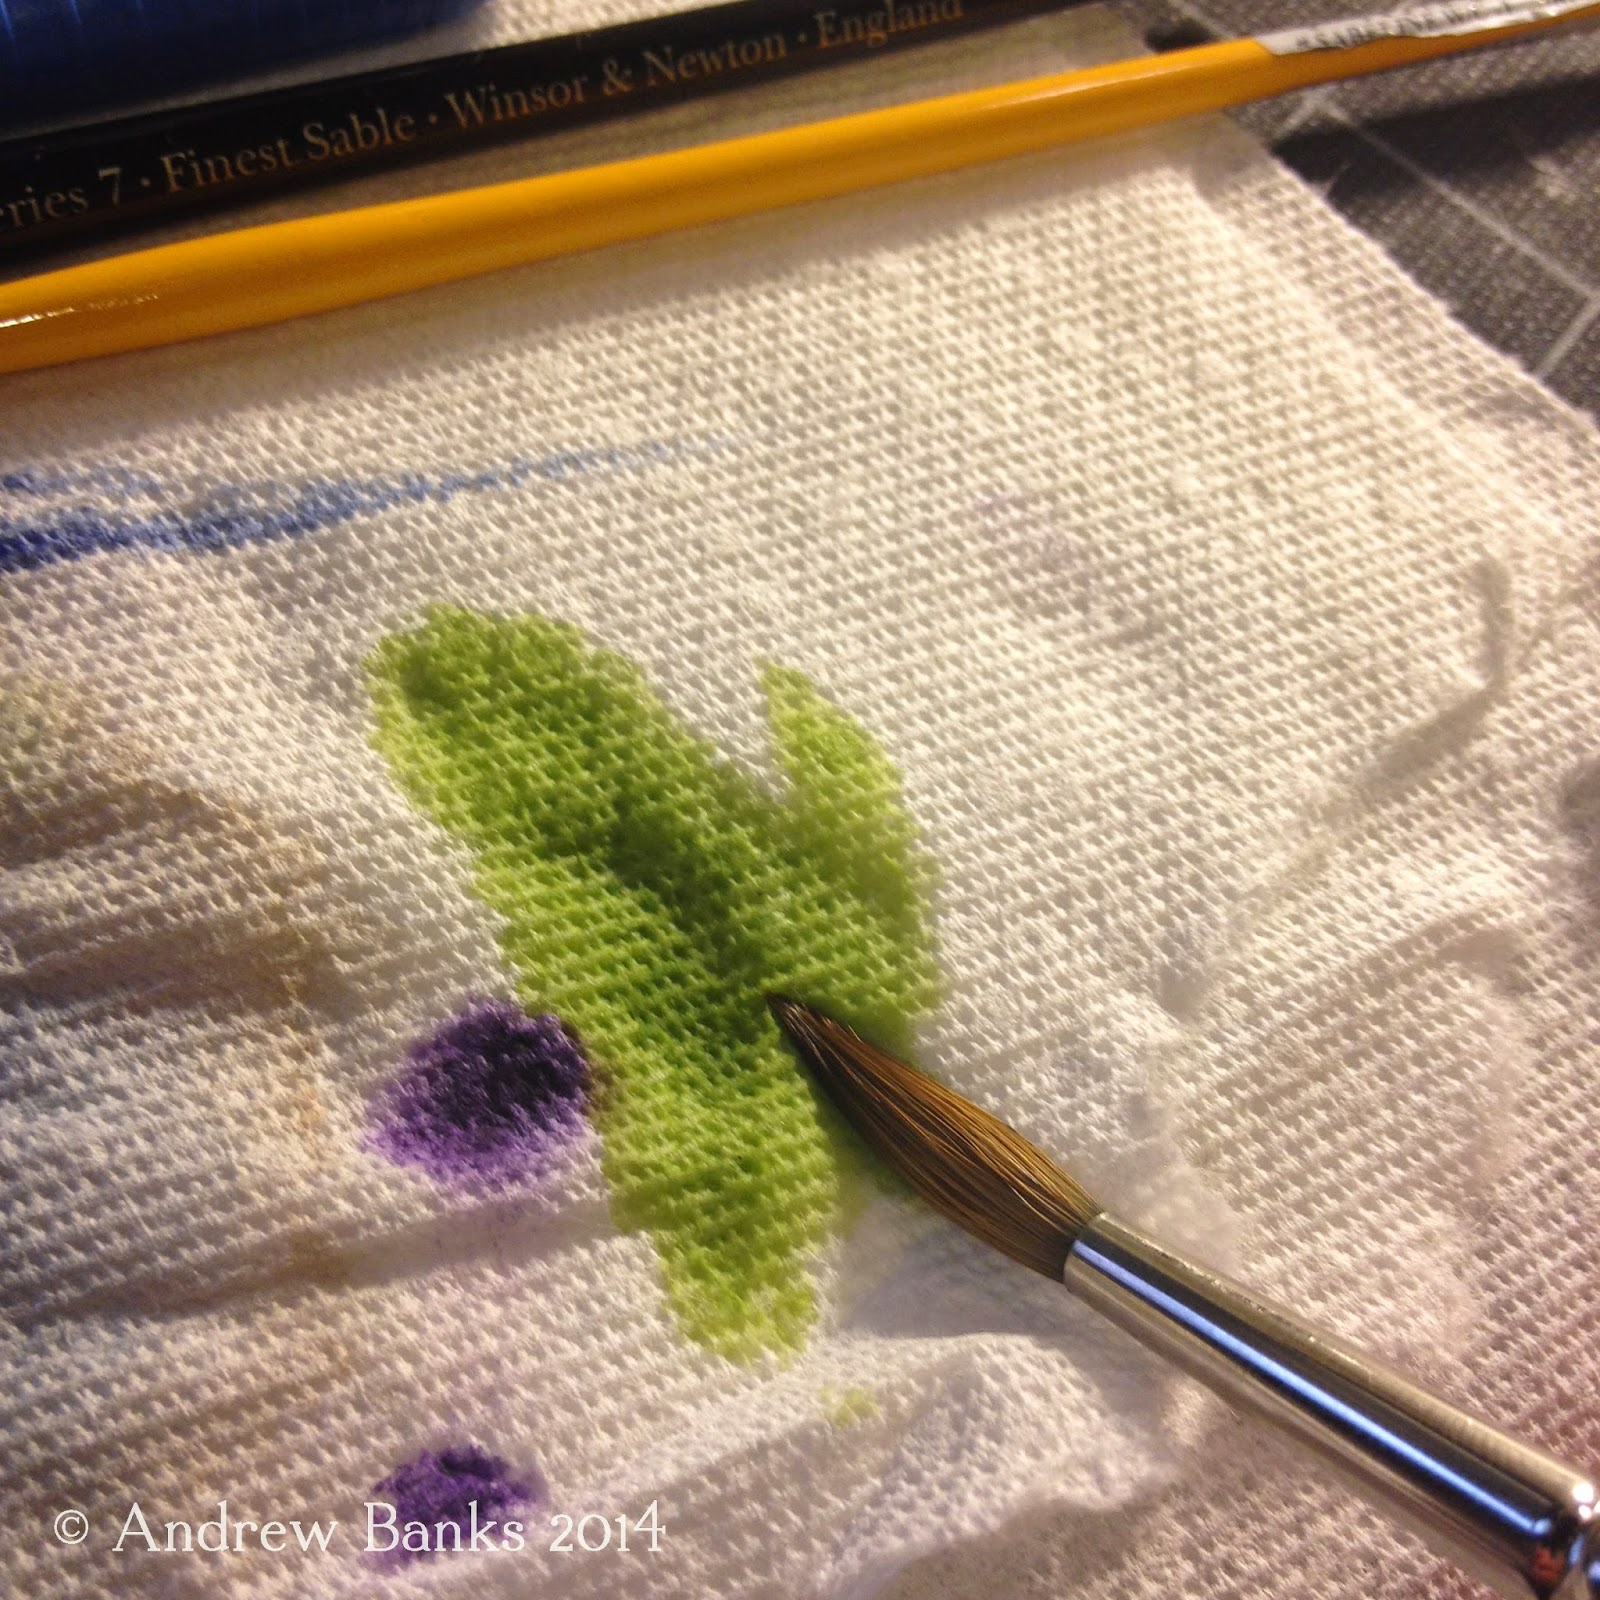
6) Bring your bead to your desired edge or location. Shake the brush off of or touch the brush to a paper towel to absorb the excess water. Gently touch your dry brush to the bead. Your brush will absorb the excess water back into the brush, leaving an even surface of paint on the paper. If we left the bead of water on the paper, the excess paint would diffuse back up into the earlier wash and would create an unwanted stain.


7) Repeat steps 2-6 until you get the values you want.
Graded Wash Applications:
Here are just a few examples of applications for graded washes
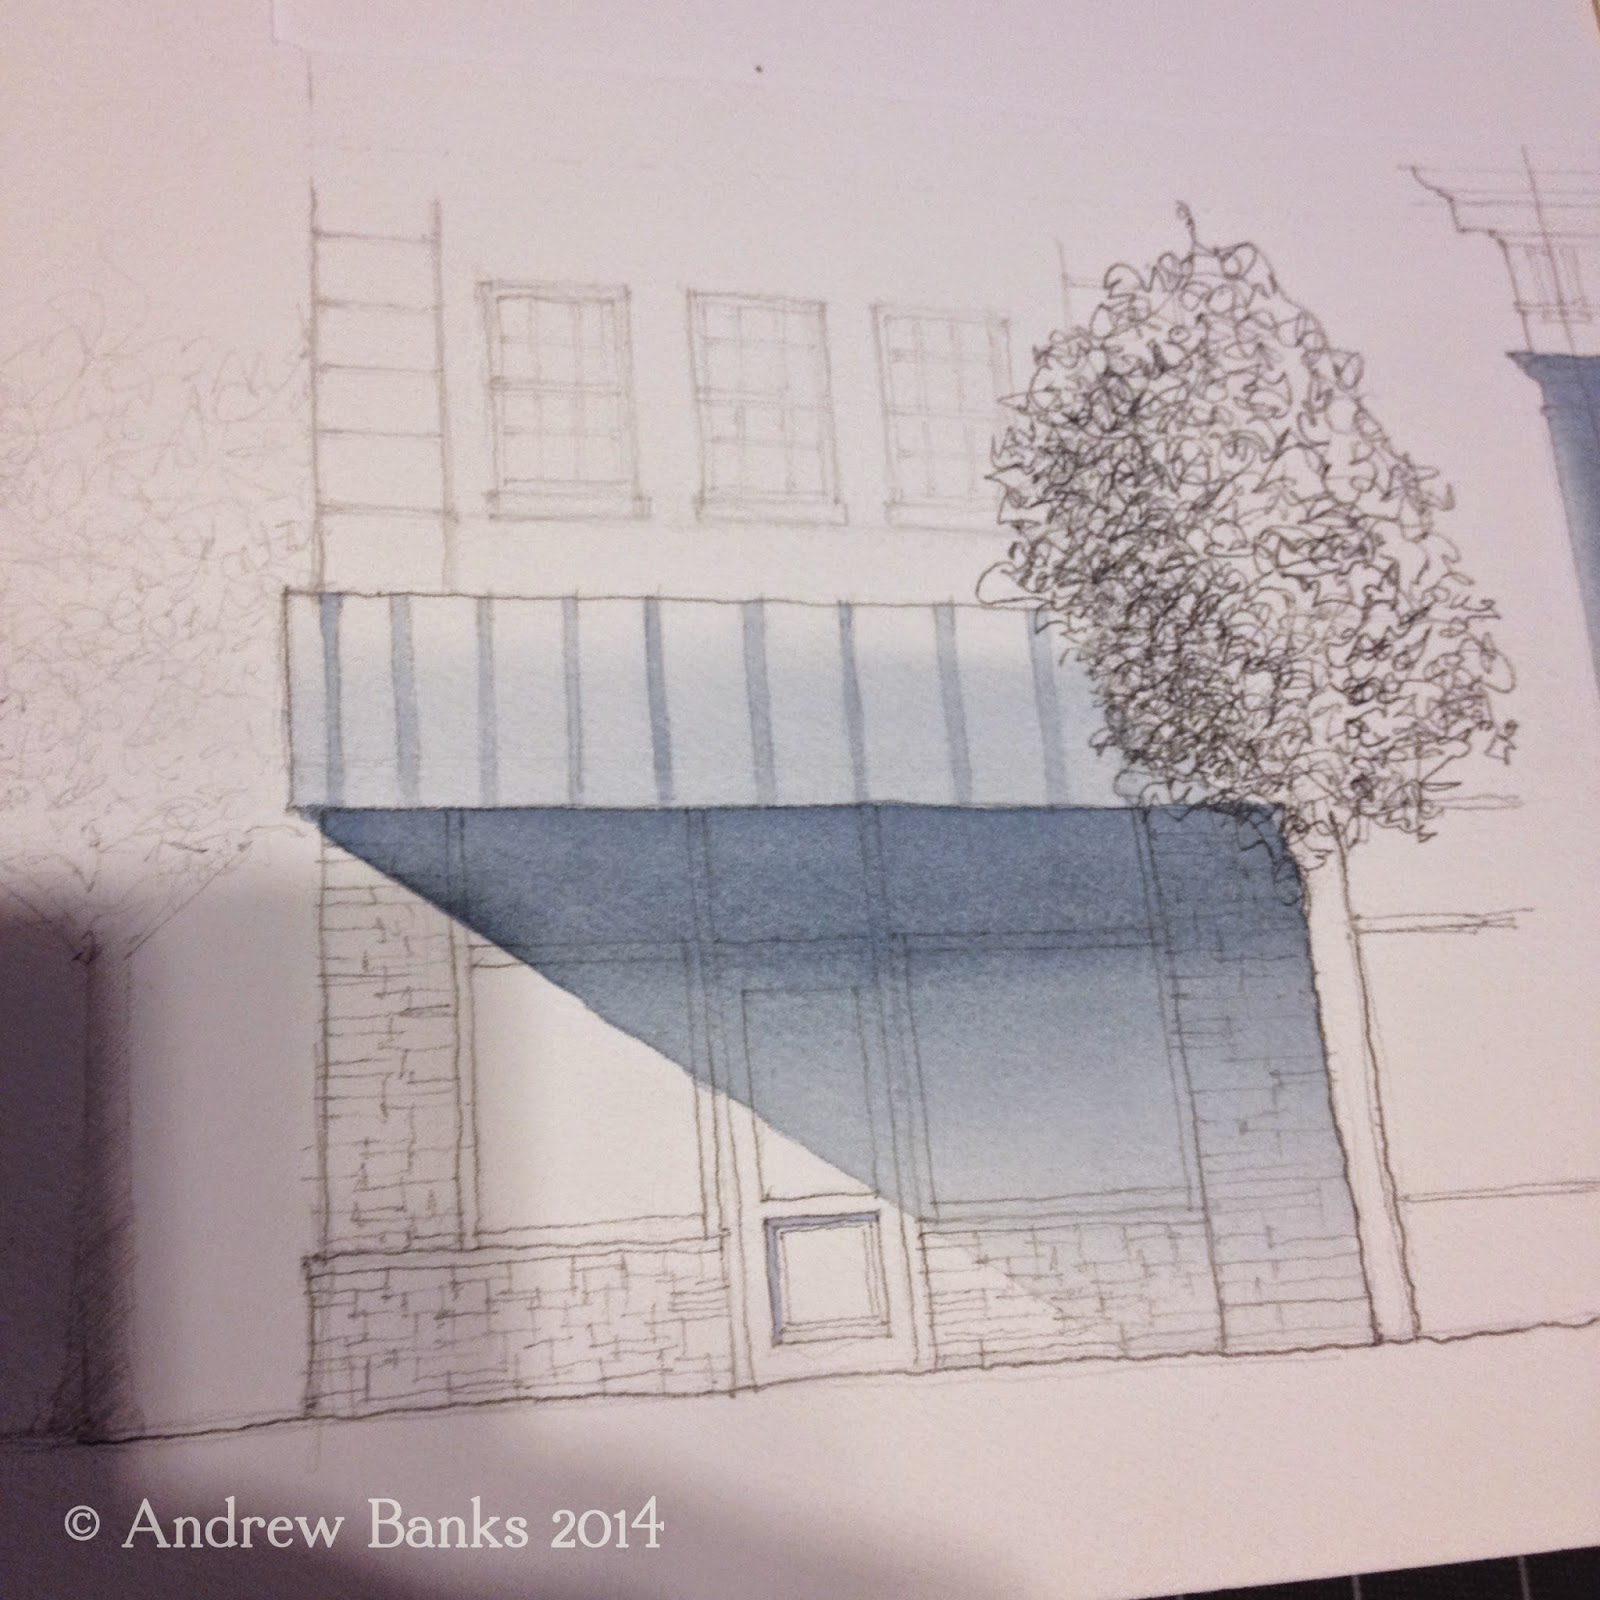
Shadows
Here, the graded wash works perfectly for a shadow cast on the underside of an awning. On a sunny day, light will reflect off of the ground surface back on the building wall. The graded wash allows you to show this reflected light gradually darkening as it gets farther from the ground and up under the awning.
Curved objects
Curved objects have a range of tones (highlight, mid tone, shadow, reflected light, cast shadow) that can be achieved with graded wash.
Skies
Depending on where the sun is in the sky, the sky will have a graded wash. For example when the sun is low on the horizon, the graded wash will be light on the horizon line and darker the higher you go into the sky. When the sun is higher in the sky it is generally the opposite.
Thanks, Andrew. This is explained clearly and demonstrated beautifully!
ReplyDeleteThank-you Barbara!
DeleteThank you for this post! Very helpful!
ReplyDeleteMy pleasure! Glad this could help!
Delete