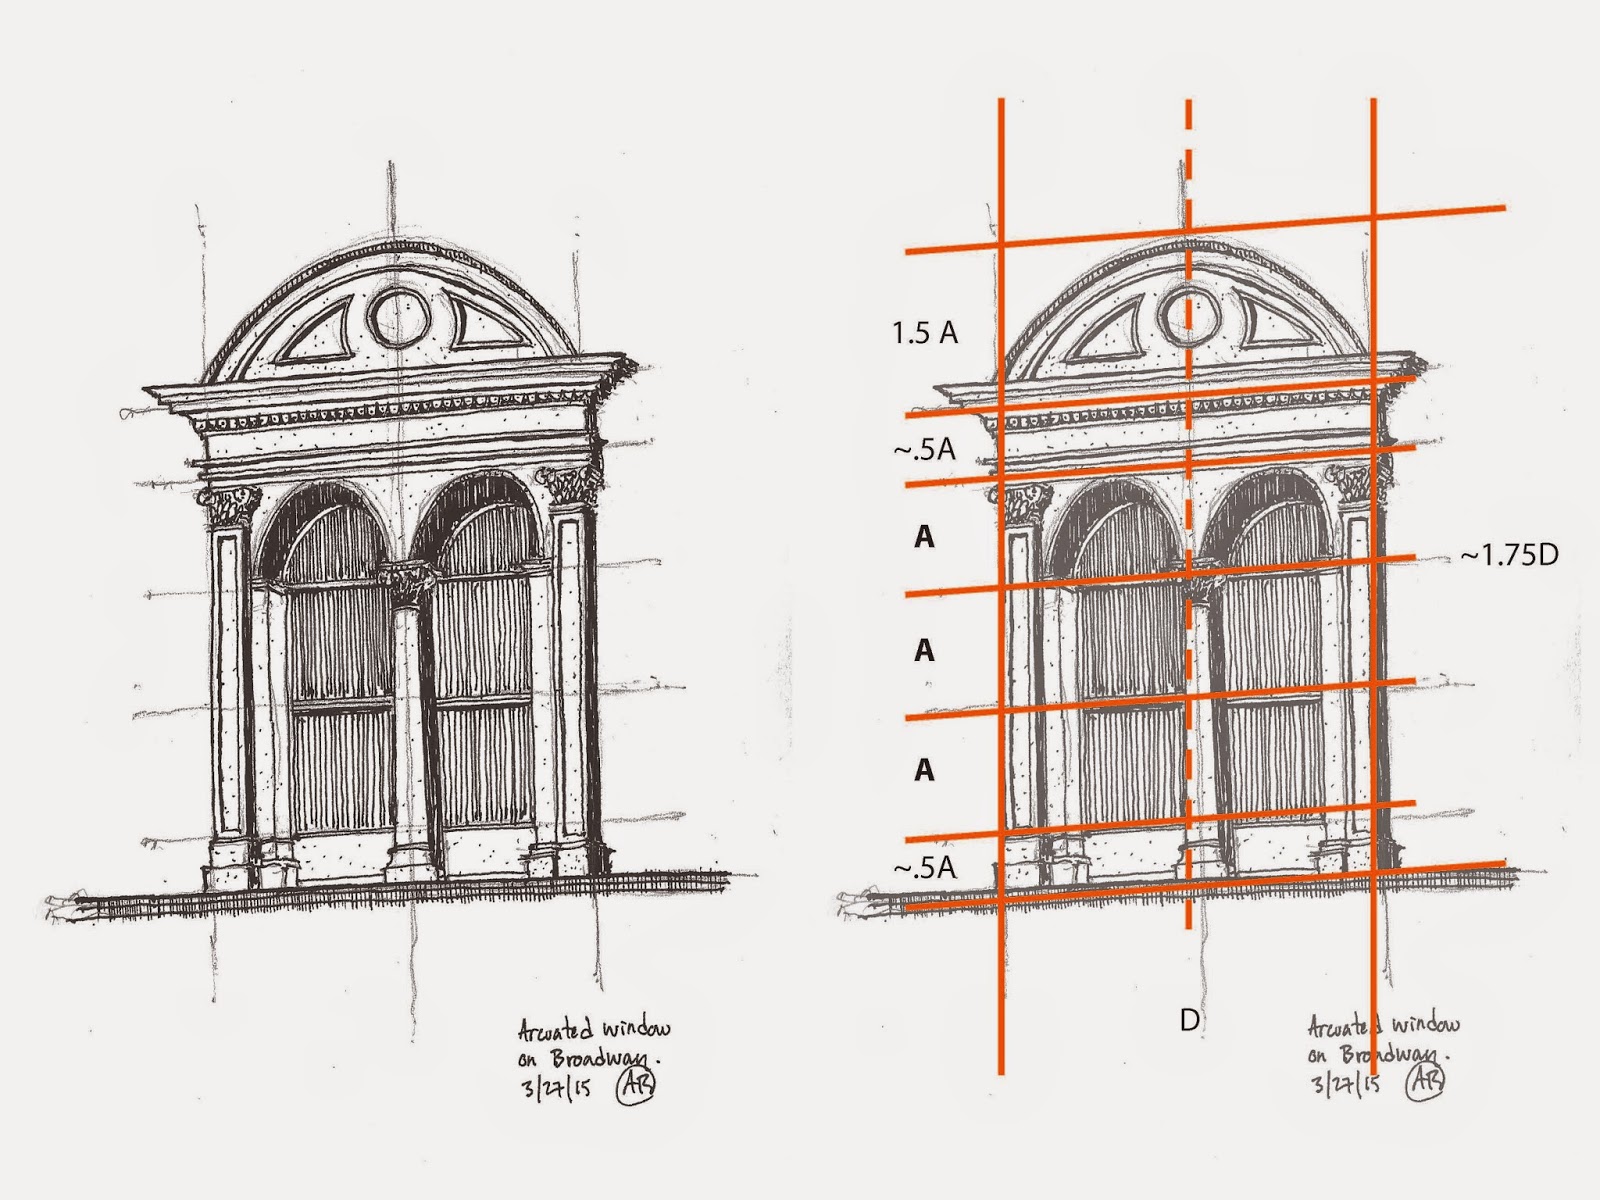
URBAN SKETCHING AT "THE BEAN"
By: Andrew Banks
Urban Sketchers Chicago is excited to be hosting the 2017 Urban Sketchers 8th Annual Symposium. We'll be welcoming over 450 urban sketchers from around the world to meet, sketch, and share our city! As a teaser of all the sights in store for you next year, over the next few weeks, we'll be sharing some of our sketches (both new and old) of our beautiful, diverse, and exciting Chicago.By: Andrew Banks
 |
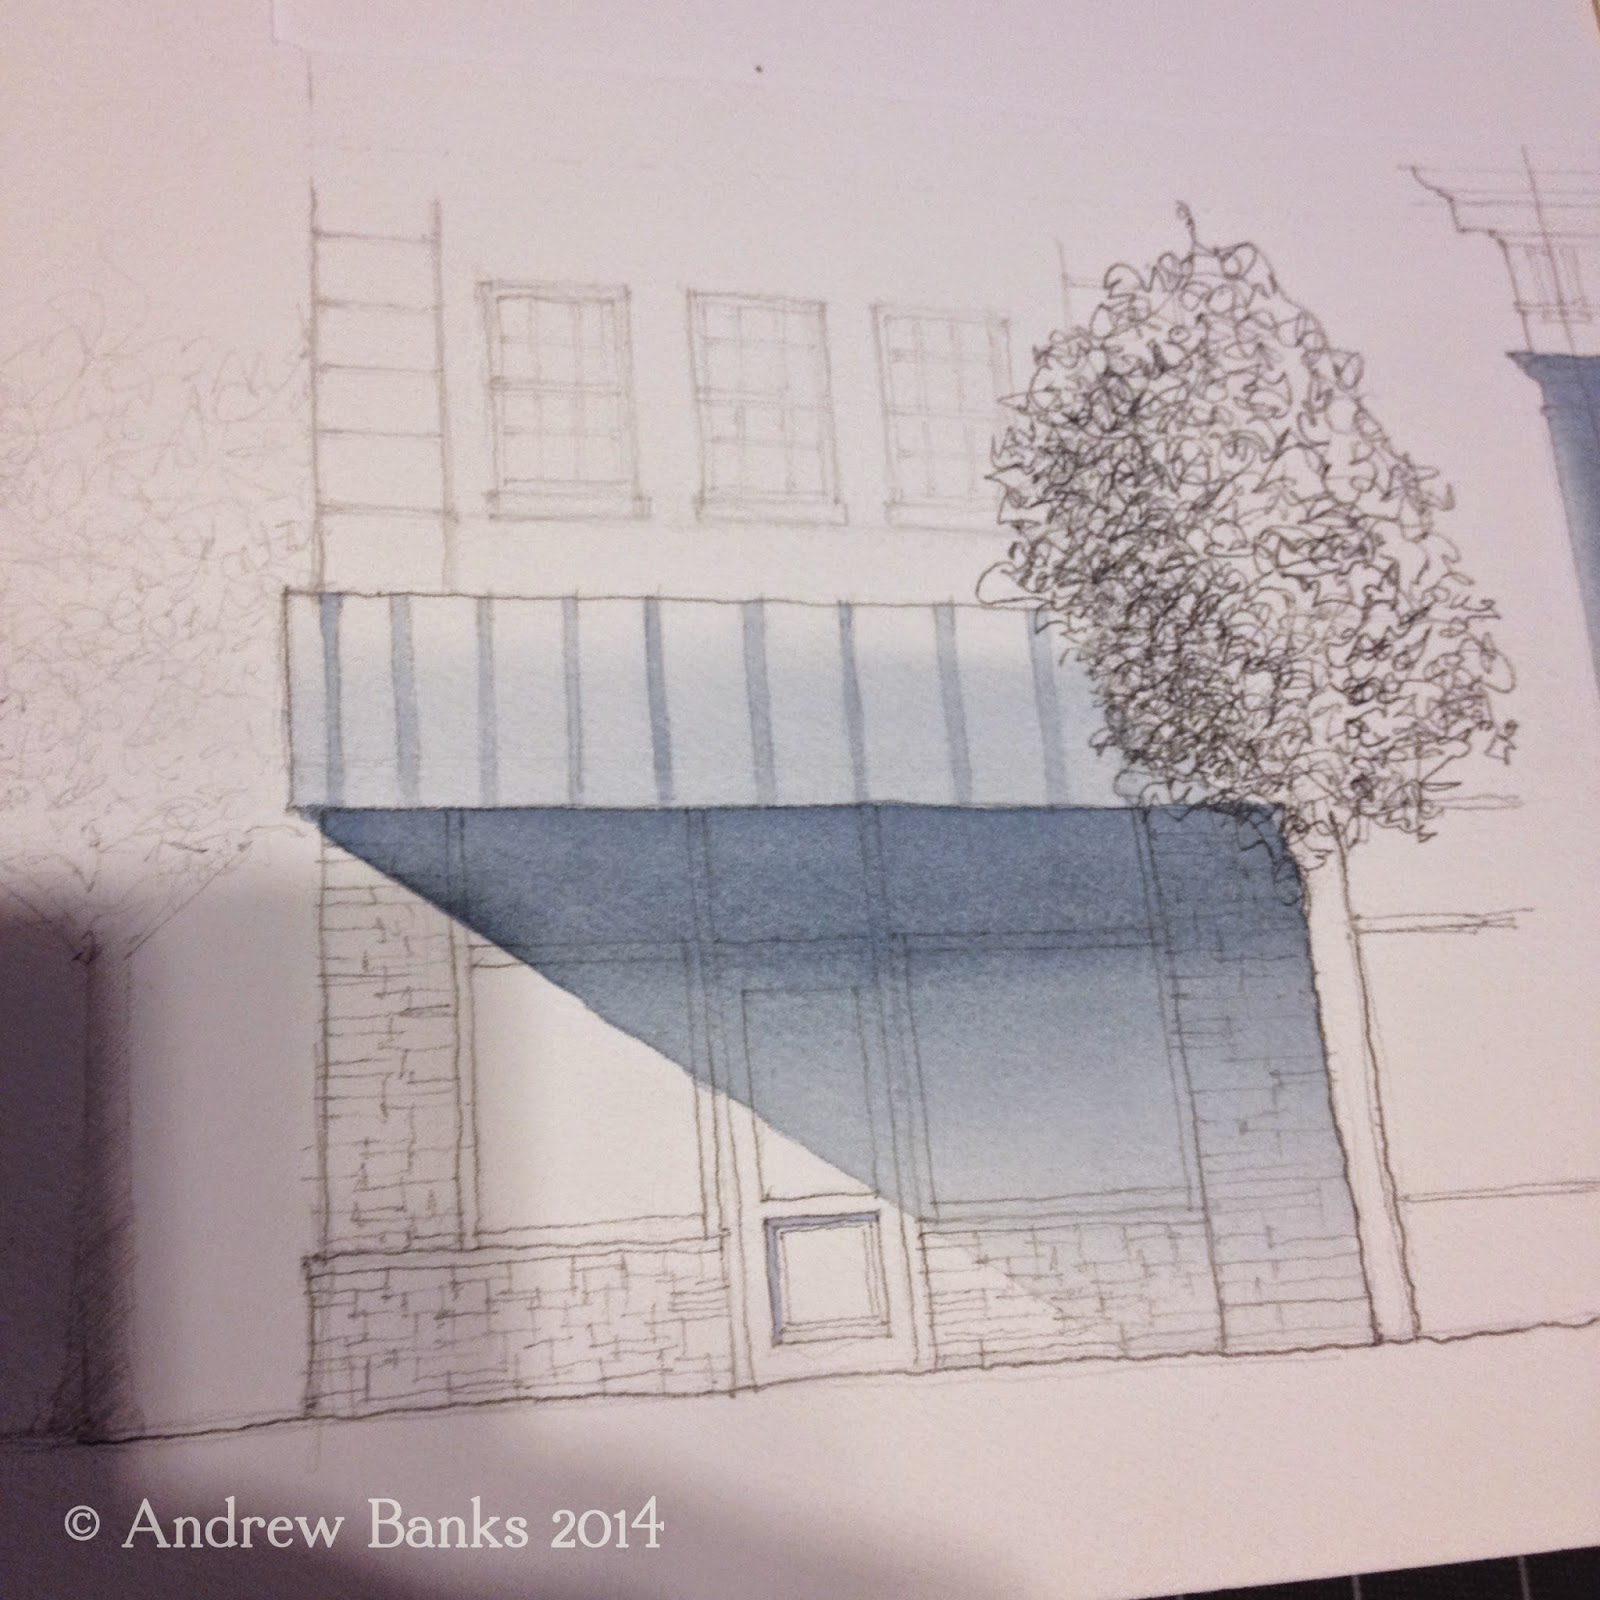
| The Bean. Fountain pen and Faber Castell PITT pens in a 5.5"x8.5" Stillman and Birn Epsilon soft cover sketchbook. © Andrew Banks |
The Bean. Millienium Park. Sears Tower.... If you are visiting Chicago these are probably just a few of your must do's and must see's. If you are a local, however, you've probably been there and done that. You commute past these architectural landmarks on a daily basis and after a while they may start to blend in with the rest of the buildings and sights in the city. Not for me...
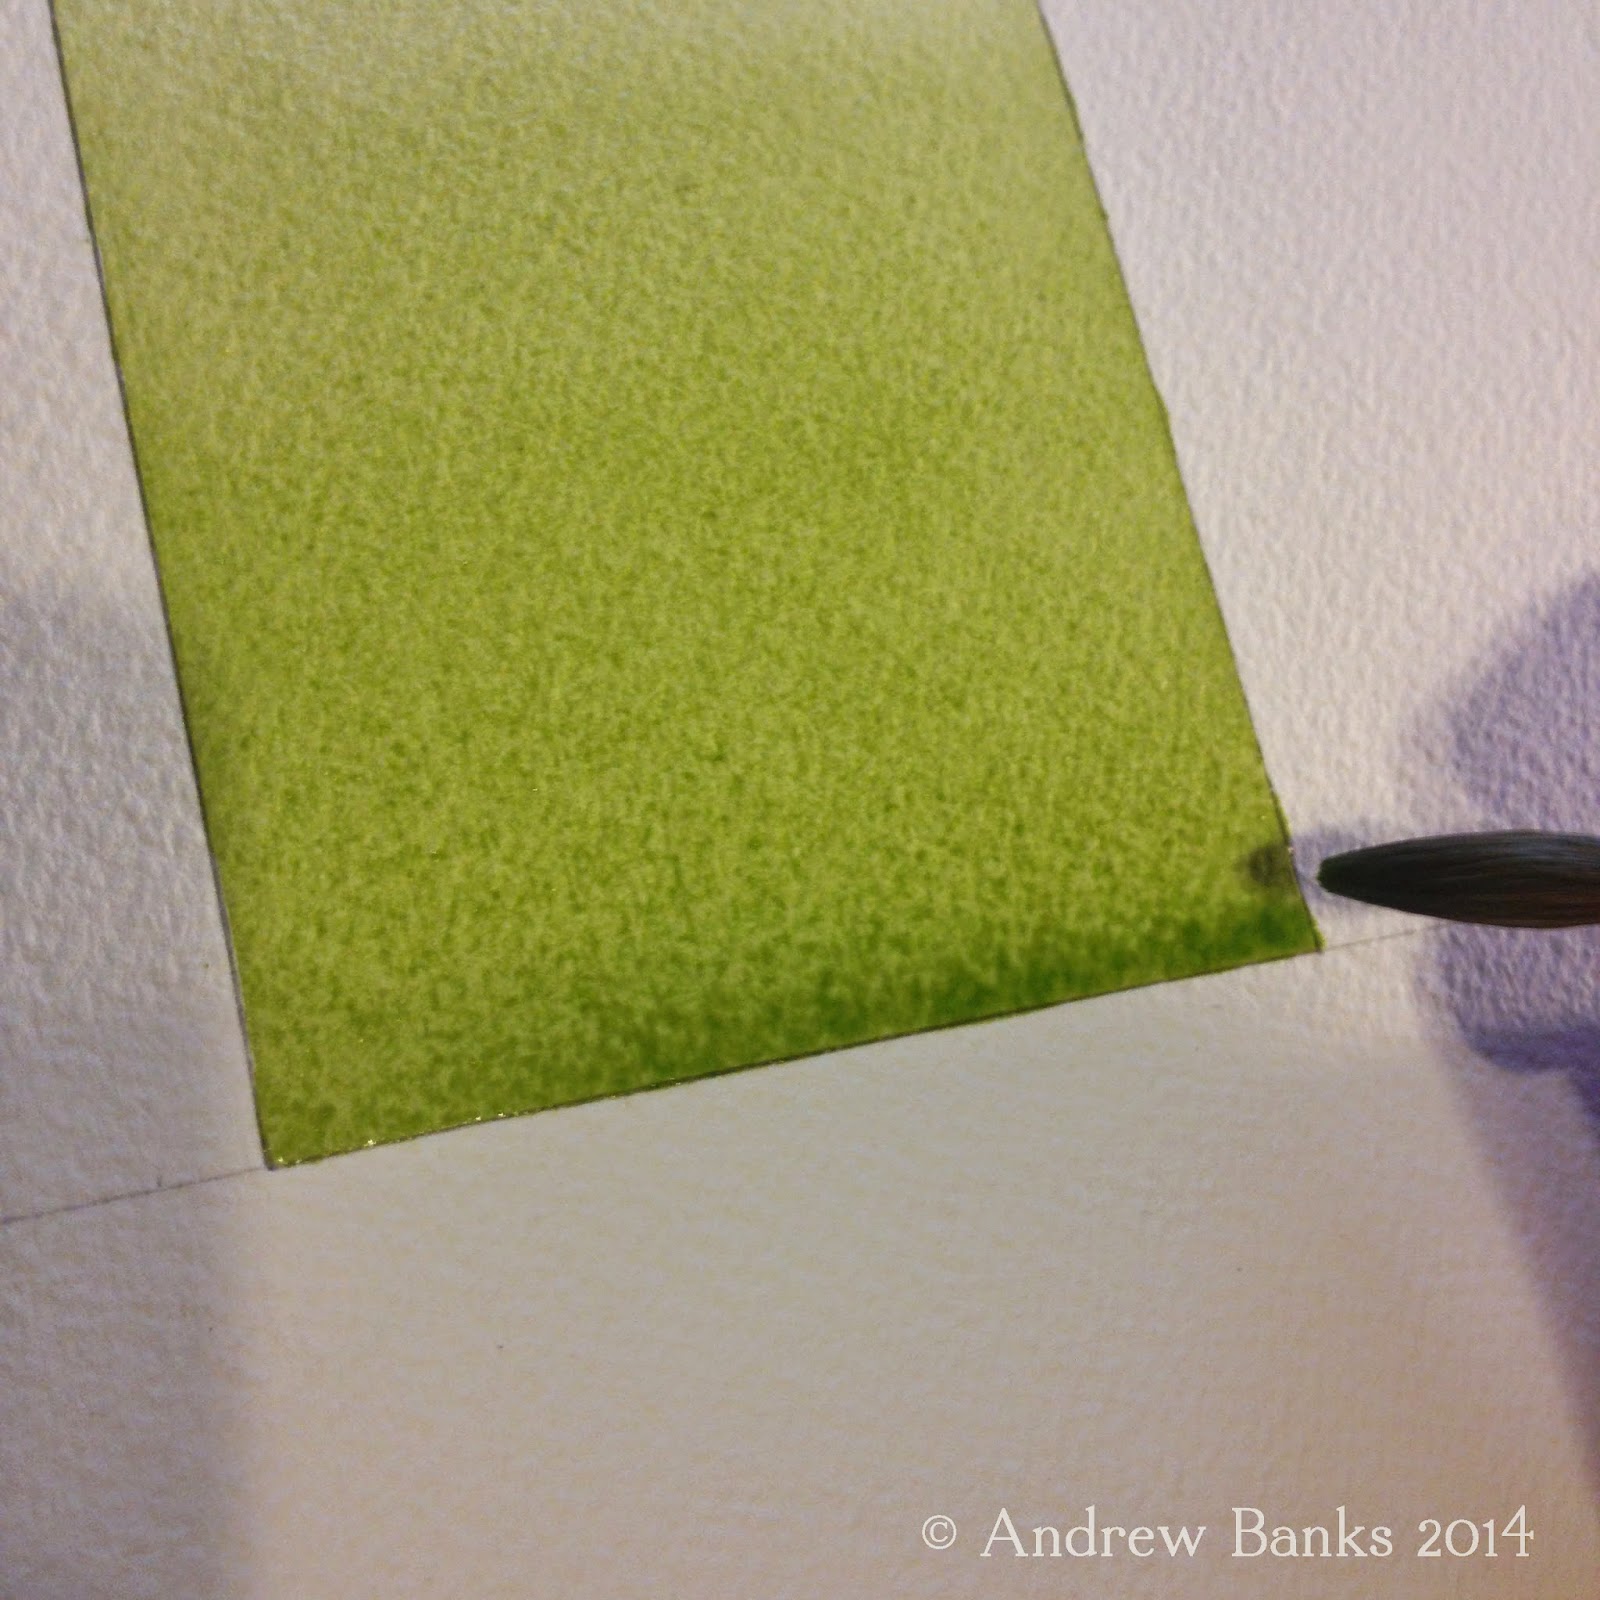
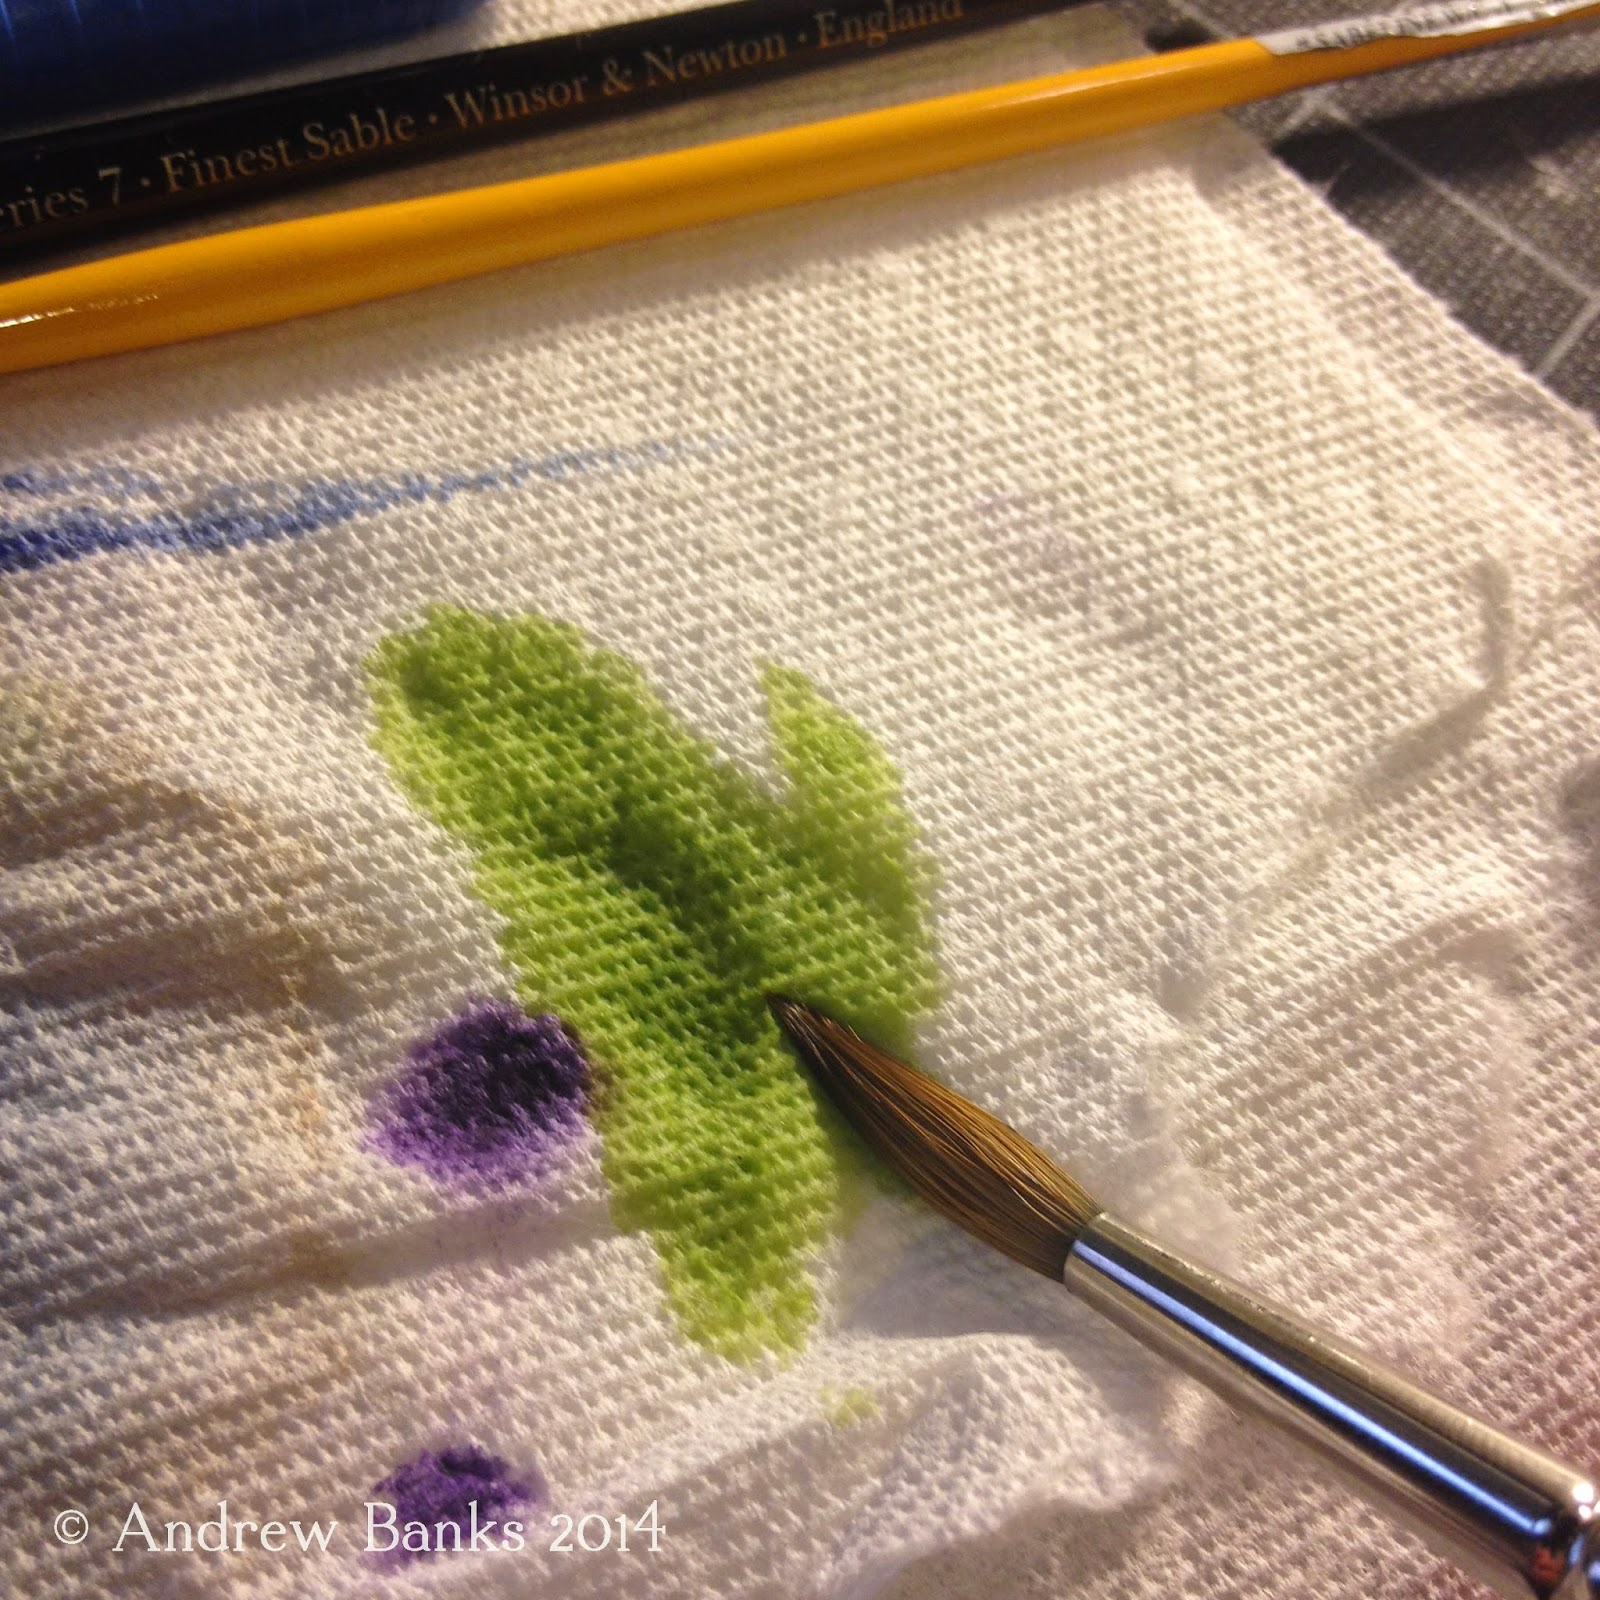
Even after having lived in Chicago for 6 years now, urban sketching has kept all of the "touristy" places in Chicago intriguing and enjoyable for me to visit. I've sketched here before, but there is always new inspiration for capturing it differently than before. I've found that as my skill sets develop, and as I continue to explore different media, there is always some new or improved way of seeing and representing a scene. These iconic spaces, structures and views aren't recognized around the world for no reason. If you have even have the smallest interest in design, art, or architecture, it will be hard not to have a great time in Chicago.
This sketch took about 45 minutes, and as I sat on the ground, on a particularly busy day at The Bean, I had the chance to chat with several people who were interested in what I was working on. I always enjoy sharing my work, and popular public places like this are great for introducing people to your work and to the Urban Sketchers community.
 |
| The Bean. Fountain pen and Faber Castell PITT pens in a 5.5"x8.5" Stillman and Birn Epsilon soft cover sketchbook. © Andrew Banks |
See more of my work: