Pages

Monday, December 29, 2014

A Sketching Resolution

(Early) Tuesday Tips & Tricks


The holidays are famous for taking up new hobbies, learning a new skill or proclaiming that the next year will be (somehow for the better) different. Perhaps you have some time off from your work, picked up a new device (as a gift or otherwise), or the New Year presents an opportunity to "start something new." With the looming prospect of a failed diet plan or an underused gym membership, allow me to present another resolution for the New Year that will not cost anything and could last longer than six months. All you need is your favorite sketching pencil, pen, marker, paint brushes or anything you like and something to draw on (such as a notepad, sketchpad, whiteboard, or even a digital tablet device).


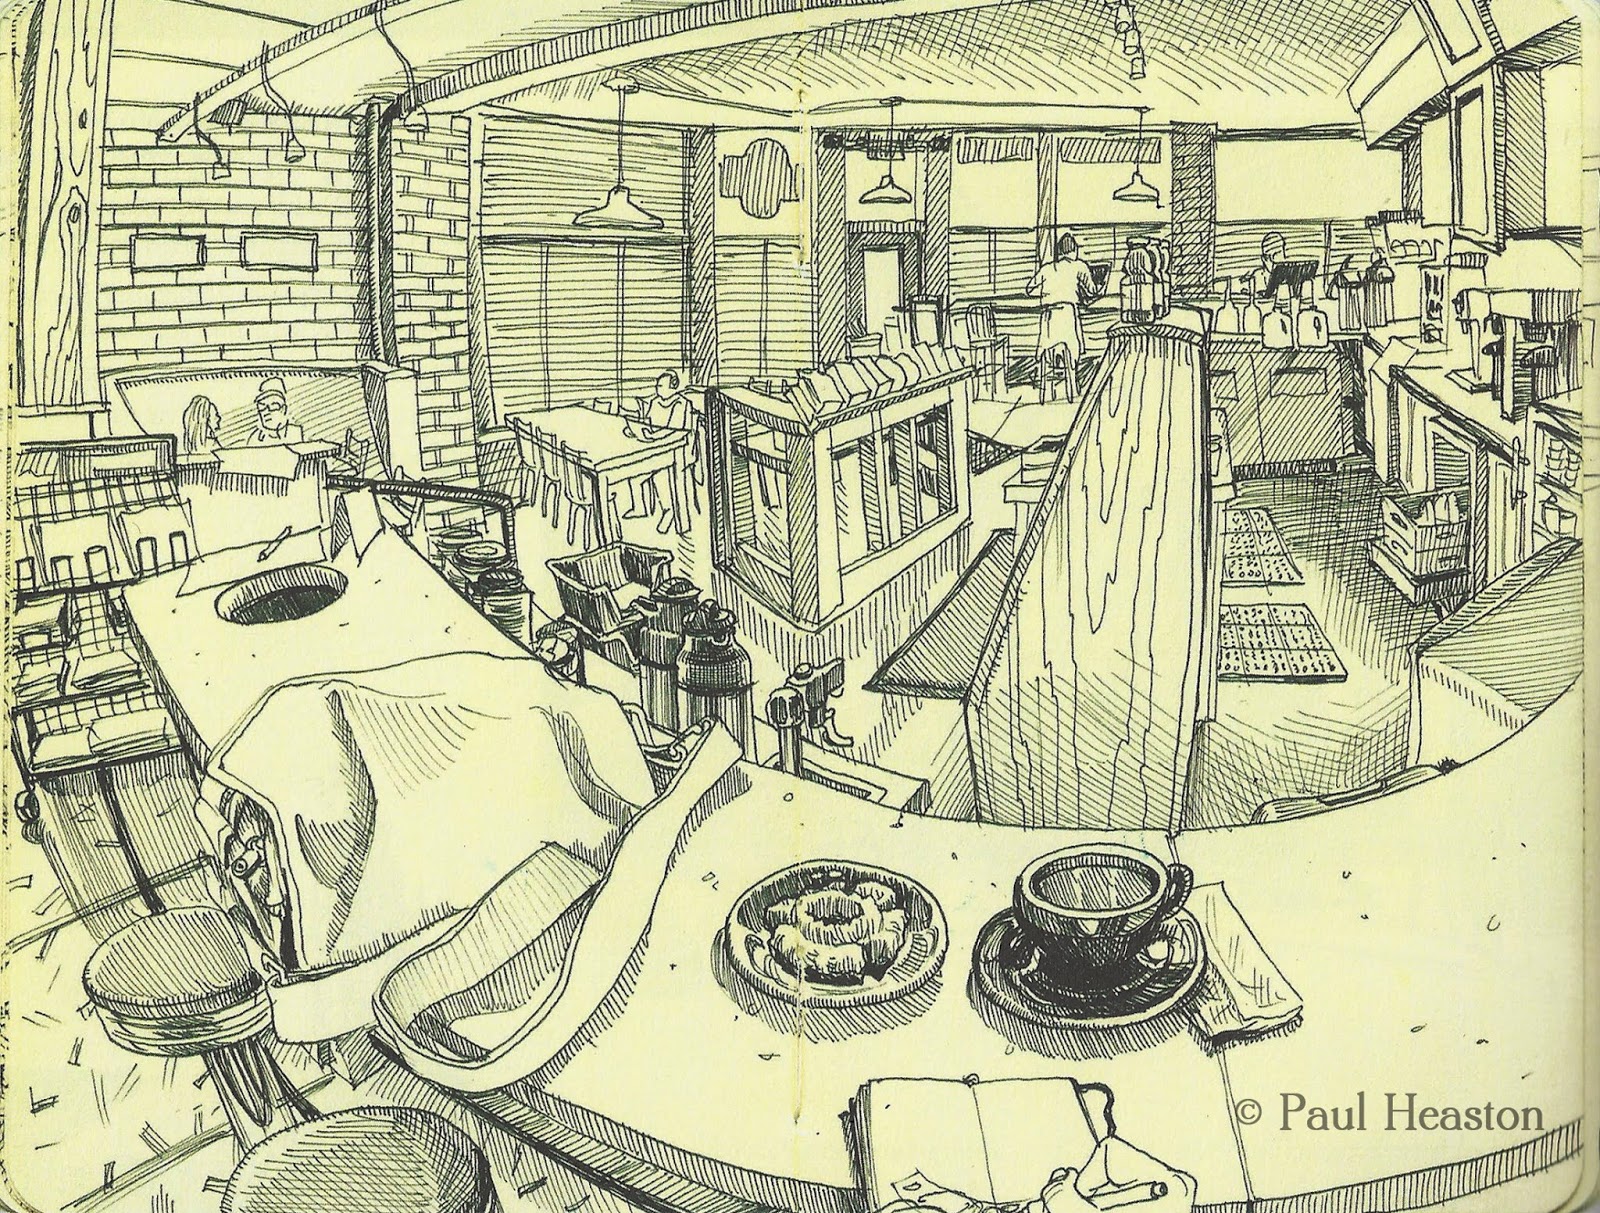
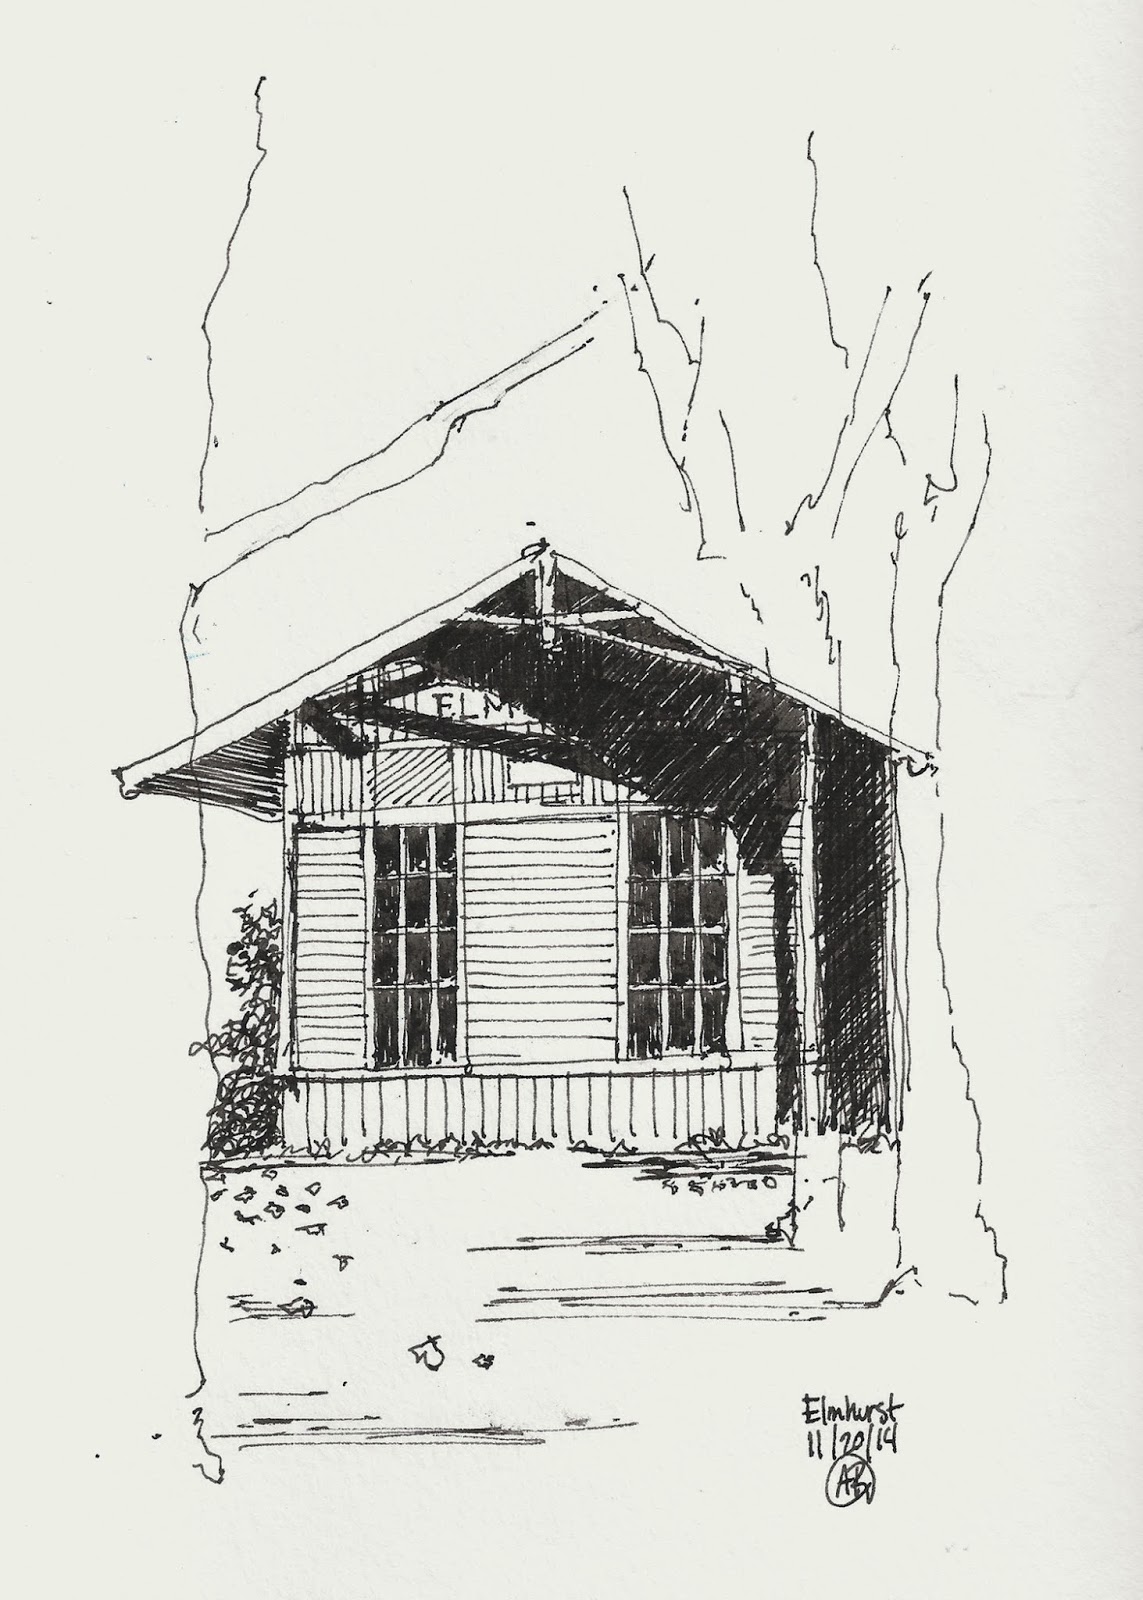
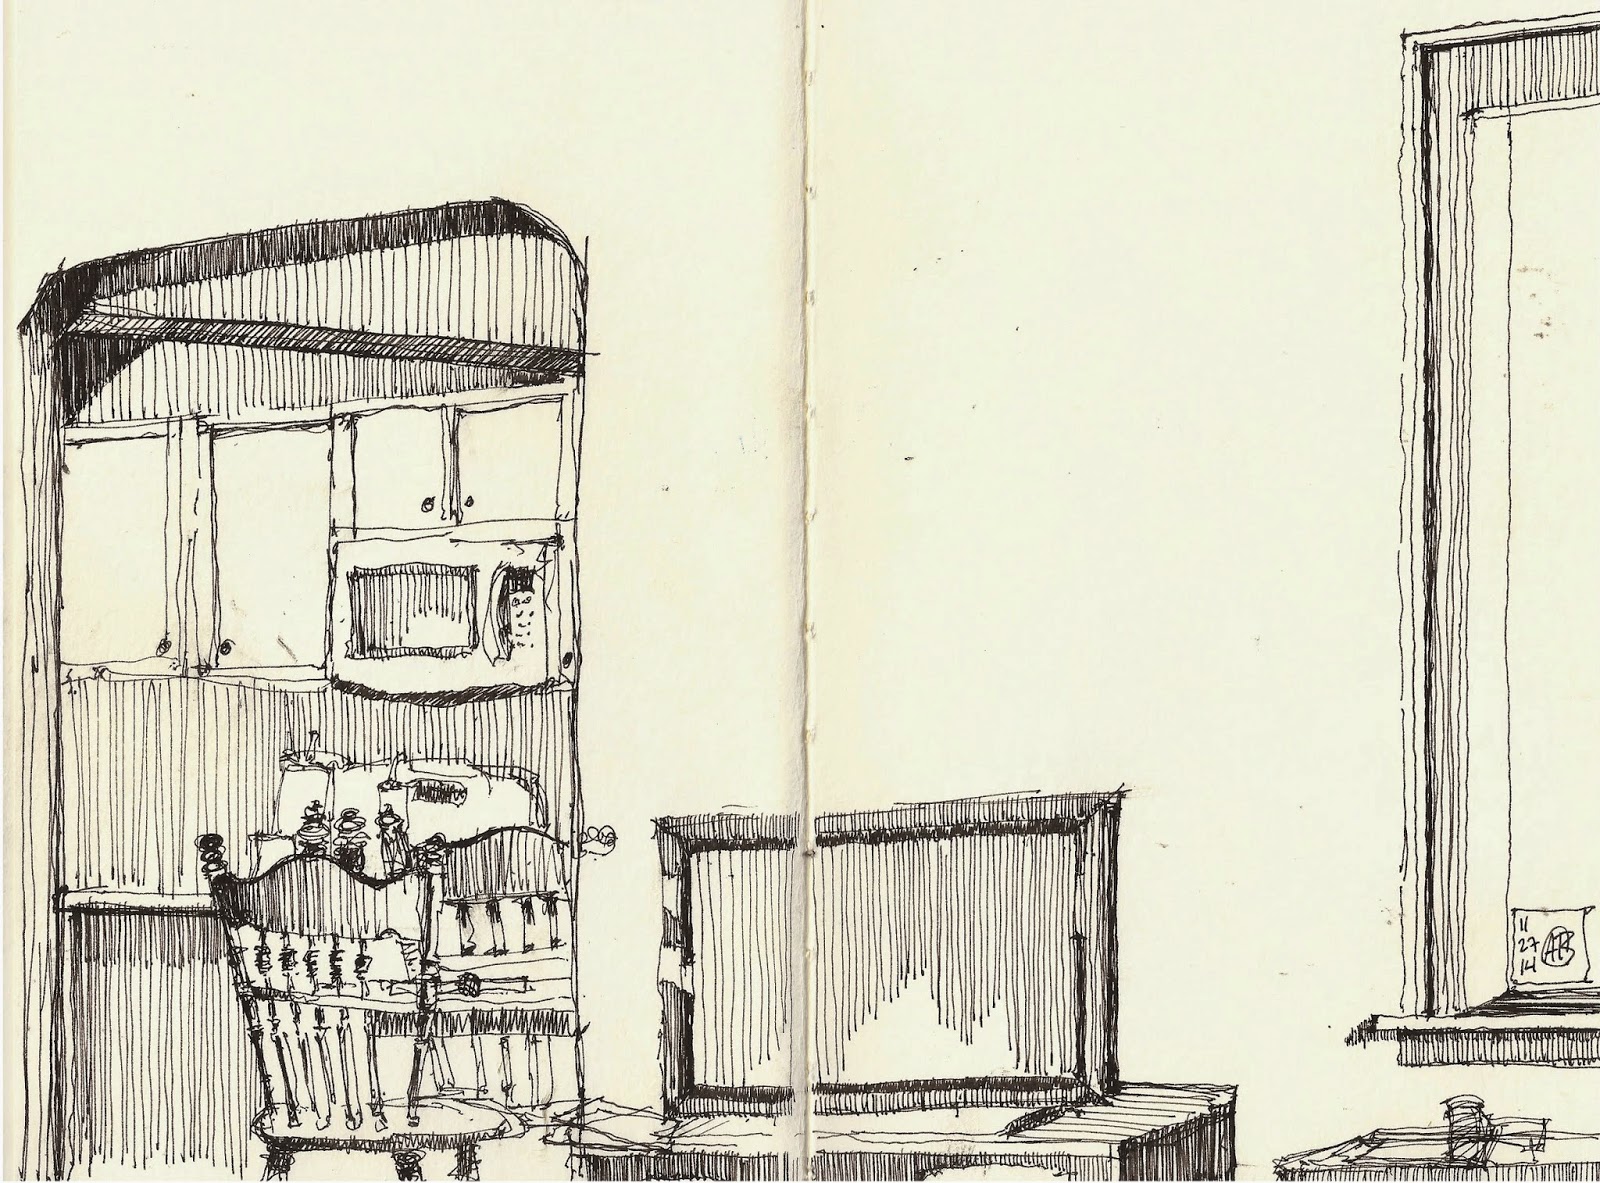
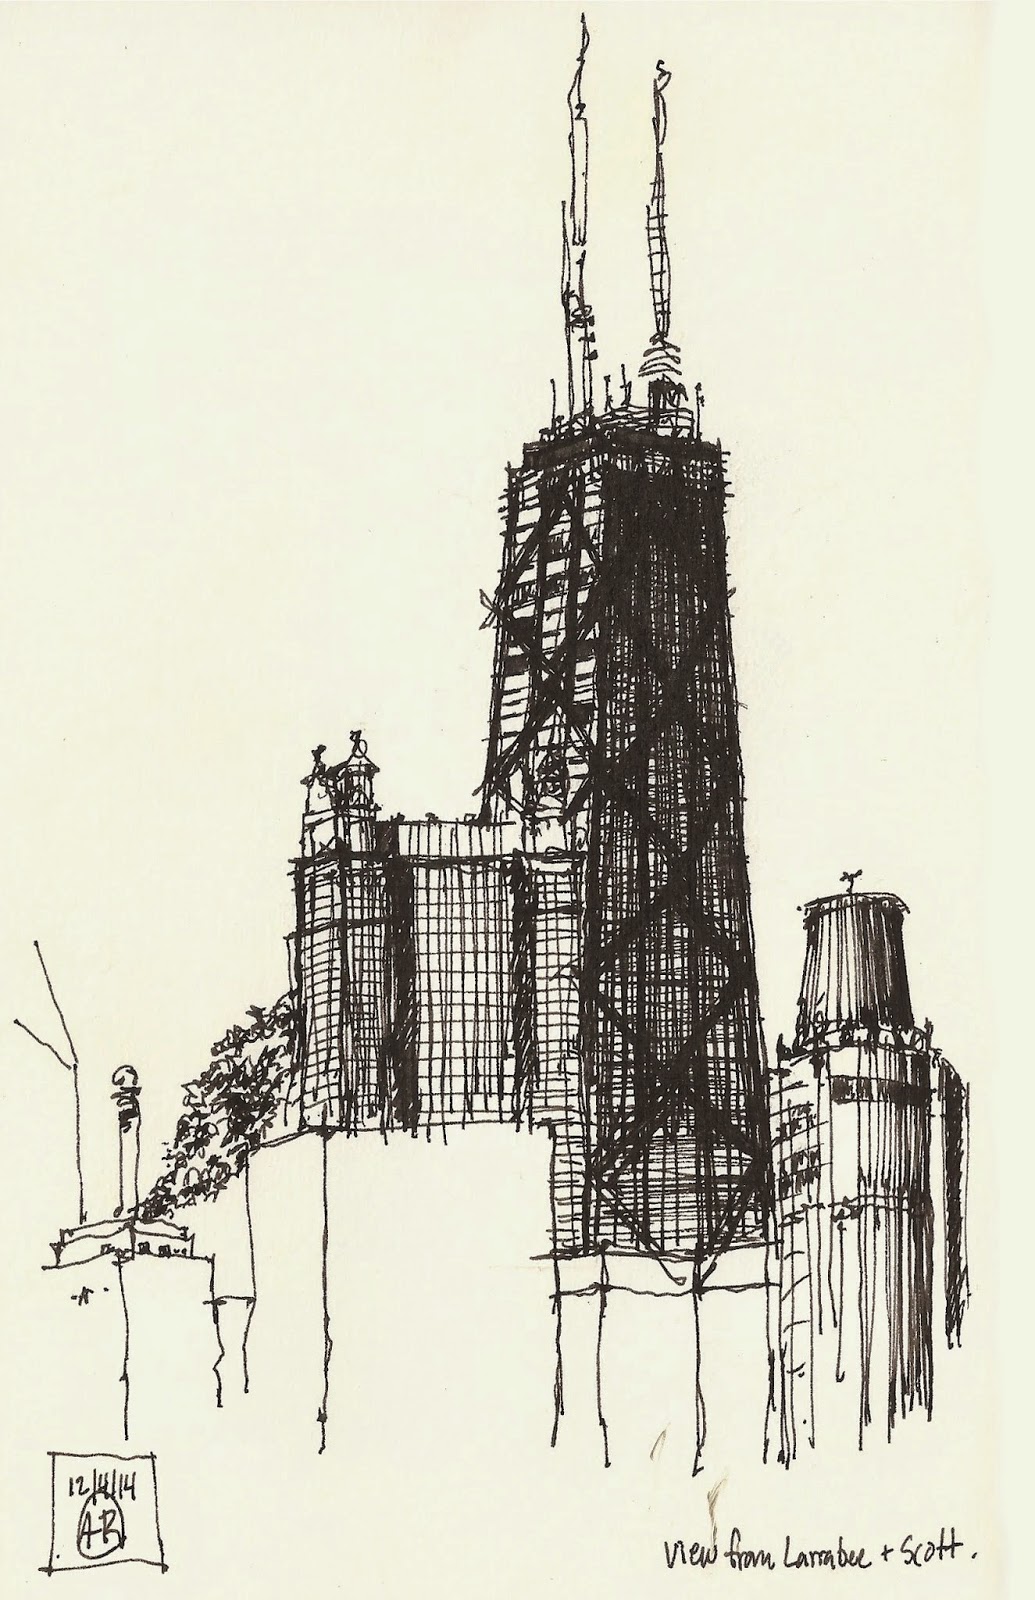
It's called Urban Sketchers (USK) and we are a local community of artists who come together with a common interest of sketching in urban settings, socializing with like-minded artists and learning some new tips along the way. We practice sketching various scenes that often include interesting architecture, landscaping, people, animals and sketching anything else in cities, towns and villages in which they live, work or have traveled. We are a nonprofit organization that is dedicated to raising the awareness of artistic storytelling and educational value of drawing on location, promoting its practice and connecting people from around the globe.


Our local chapter, USk Chicago, meets at a different location in and around Chicagoland (so you see, we already have a support group!) which we call "Let's Sketch Chicago" and it is a great way to meet other like-minded sketchers and learn new tips and shortcuts. If this sounds like fun and you would like to check out the Urban Sketchers' scene, simply go to the following pages and look at some of the examples. And come to one of our next "Let's Sketch" outings and see what fun it is to meet real strangers from a Facebook group. We're really not that strange :)

We have this weekly series of posts called "Tuesday Tips & Tricks" where one new tip, trick or shortcut is shared with visual details at this link:
Urban Sketchers Chicago Blog: http://urbansketchers-chicago.blogspot.com

Here is where the bulk of our postings, shared sketches and discussions happen:
Urban Sketchers Chicago Facebook: Urban Sketchers Chicago
This is also where you can join our group if you are so inclined.

And the following links are more places where you can see our sketches:
Urban Sketchers Chicago Instagram: #uskchicago
Urban Sketchers Chicago Pinterest: www.pinterest.com/USkChicago
Follow up in Twitter: @USk_Chicago 

Tuesday, December 23, 2014

It's been an awesome sketching year!

It has been a tremendous year for Urban Sketchers Chicago! It was our third year sketching Chicago! We have nearly doubled our group! We imagined, planned and put out our first Chicago Sketch Seminar! We produced an inordinate number of sketches and managed to have oodles of fun in the process :)

In this holiday season we wish you health, happiness and a lots of sketches! Merry Christmas - Happy Hanukkah - Lovely Kwanza - Wonderful Yule and a Happy New Year to you!

Our USk Correspondents are taking a much deserved break and will come back with new TTT posts in January.

Here are some shots from our Holiday Sketching party:


Tuesday, December 16, 2014

Creating Value with Line

Tuesday Tips & Tricks

I've enjoyed being able to contribute to the TTT series so far.  It’s challenged me to think about why and how I do what I do when I am sketching and to put it all down into words.  This is something I have never really done until recently.  It has also been incredibly beneficial to read the weekly posts of the other contributors Wes, Barbara and Alex.  In the last couple months, as Chicago winter has settled in and limited outdoor sketching opportunities, I've found myself coming back to bits and pieces of advice from several previous posts from Alex and Barbara.  In Playing With Line, Barbara reminded us of the versatility and simplicity of line.  In Thoughts on Talent, Alex reminded us the more we work on something the better we become, and that all of us can become great sketchers.  And most recently in Every Visual Creative Should Keep a Sketchbook Barbara gave pointers on how to use a sketchbook, turning it into a personal habit and practice, something we carry with us everywhere.  With these tips in the back of my mind, and knowing how the winter months can put my sketching into hibernation, I started thinking about how to encourage myself to maintain the sketching habit in spite of the inclement weather conditions.  So, (at least for the time being), I decided to trim down my entire sketch kit to one or two fountain pens and one sketchbook.

Simplifying my entire sketch kit down to two or three pieces has made it easy me to carry my sketchbook and pen(s) with me wherever I go, which has also encouraged me to sketch more.  More importantly, (and to the point of this post) I've been learning how versatile one sketching tool can really be.  This post goes over some of the techniques I have been playing with in the past few months that allow simple line drawings, with one pen (or whatever you chose to use), to be transformed from flat, valueless sketches into dynamic value filled sketches.

Creating Value With Line

Why? 
Line drawings that do not incorporate value can often seen flat and static.  Drawings that incorporate value have a sense of depth and are more dynamic.

How? 
-Use different sized pens (pencils, brushes, markers etc etc)  For the purpose of the post I am focusing on and using pens as an example.  You only need one or two.  There are several different brands of pens that come with a variety of sizes.  Some popular choices are the Sakura Pigma Micron pens, Staedtler’s Pigment Liner pens, or Faber Castell’s PITT Artist Pens.  Or you could use a fountain pen that has a flexible, springy nib, such as Noodlers Konrad Flex Pen.  My preference is to use one or two fountain pens.  If only using one, I use my TWSBI580 with an EF (Extra Fine) nib.  The extra fine nib is great for creating really thin lines, but the flow of the ink in the pen is fast enough that I can easily add value to a line(s) or easily fill in larger areas with value.  If using a second pen, I will use one that has an M (medium) or B (bold) nib.  Having a second pen with a larger line weight provides a quick contrast in line weights which can be used for things such as the profile or relief of a building, objects that are in the foreground or any line or object you want to pop from the rest of the drawing.


-Cross hatching.  Cross hatching can be done in many different  ways and patterns.  Cross hatching allows you to build value up through the layering of marks.  Hatching can be done by layering lines that are all going in the same direction, or lines that are going in different directions (diagonal, perpendicular etc etc…)  The Urban Sketcher Paul Heaston is renown for his cross hatching.  (Check out more of his work on his Facebook Page) Here is one example of how he uses cross hatching to create value in his line drawings.


Here are a few simple cross hatching examples:


Multiple Pass – This is a name I made up.  Maybe there is another name for this, but the idea is that the more times you go over the same line, the more value, and thickness it will have.


Line variation – When using a pen such as a flex pen, brush pen or felt tipped pen, and with varying amounts of force, you can create variety of value in your lines. 


Line Weight - Check out the unique ways that Illustrator Lyndon Hayes uses line weights to achieve value with line.


Lastly, here are a few of my most recent sketches, each completed with one pen, that demonstrate creating value with line:


As soon as I narrowed down my every day sketch kit to a single pen and started re-visiting basic sketching skills as these, I became reacquainted with basic sketching styles I had started to overlook. These basic techniques, all completed with one or two pens, can produce some real impressive work. So my challenge for you is to keep it simple, and keep on sketching this Chicago winter season.

Happy Holidays and a Happy New Year!


Tuesday, December 9, 2014

Color - Part 1

Tuesday Tips & Tricks

Let me give you the good news first: color can be learned! Great colorists of the past – Turner, Delacruix, van Gogh – used the science of color. Their color is no accident or chance.

There are numerous theories and approaches to color out there. Many are helpful and can be used for practical purposes with great success. We will discuss one of them - Color Theory by Johannes Itten. Itten is regarded as a father of modern color theory. Some agree and some argue, but the bottom line is that Itten came up with a system to make using color manageable.


In this TTT post we will look at preliminaries, color equations and a color wheel.

Going back to centuries past we want to mention Isaac Newton who discovered that visible light can be split in color bands using a prism and Count Rumford who discovered that those bands can be combined again to make something close to white light. (More on visible spectrum in Wikipedia here.)

Then it was then discovered that an object appears a certain color when white light strikes it because the color of the object is reflected and the remaining light rays are absorbed.

These are fundamentals. More interesting discoveries were made, but what is important for us here is the discovery of subtractive primary colors: red, yellow and blue. This is big! Everything else flows from here. In ideal world adding any two of these primary colors produces a secondary color:

Red + Yellow = Orange
Yellow + Blue = Green
Red + Blue = Purple

Basic Theory – Color Equations and Triads

In basic color theory the primary color cannot be mixed or made from other colors. All the other colors can be created from the primaries. Our color equations look like this:


Note 3 primaries, 3 secondaries, and 6 tertiary colors. They are organized into 3 basic types of triads (primary triad, secondary triad and 2 tetriary triads). These triads make a complete color wheel of 12 colors. If we take these colors and position them in a circle, we will get a rudimental color wheel!


Now this begins to look like something we have seen before. How many of us have an object like this among our art supplies, probably stuffed in the back somewhere because it made irritatingly little sense?


Perhaps now it will make a little more sense! Dig it out and look at it, there is some really neat information on it!

We will stop now, but with return with next TTT chapters on color and discuss color schemes.