Pages

Showing posts with label urbansketching. Show all posts

Tuesday, March 7, 2017

***PRESS RELEASE***

For Release February 16, 2017
Contact:
Wes Douglas, USK International Correspondent
wes317@gmail.com, 630-563-6414

Toni Antonetti, PR Chicago
toni@prchicago.com, 857-949-0097


Urban Sketchers 8th International Symposium
to be held July 26-29 in Chicago

Internationally-known artists capture the city one drawing at a time


Hundreds of urban sketchers from around the world will be drawing and painting the sights of the city during the Urban Sketchers 8th International Symposium, to be held July 26-29 at Roosevelt University in Chicago.

Urban Sketchers is dedicated to raising the artistic, storytelling and educational value of location drawing; promoting its practice and connecting people around the world who draw on location where they live and travel.

More than 40 internationally-known artists are leading sessions for urban sketchers of all skill levels on techniques, principles and concepts of drawing on location. The 36 workshops will be held at various downtown parks and plazas; more than 30 demonstrations, as well as lectures, panels and sketchcrawls round out the program.

A free public sketchcrawl, where sketchers meet to draw and paint at several locations, will be held on Saturday, July 29 at 2:30 pm. The starting point is Goodman Center Roosevelt University, the sketch crawl will conclude at Sir Georg Solti Garden with a final grand photo.

The symposium brings this passion to draw urban sketching communities to a different part of the world every year. Symposium host cities have included Portland, Oregon (2010); Lisbon, Portugal (2011); Santo Domingo, Dominican Republic (2012); Barcelona, Spain (2013); Paraty, Brazil (2014); Singapore (2015) and Manchester, UK (2016).

Urban Sketchers International
Website: http://www.urbansketchers.org
Twitter: @USkSymposium
Twitter: @urbansketchers
Instagram: usksymposium

Urban Sketchers Chicago
Website: http://urbansketchers-chicago.blogspot.com/
Twitter: @USk_Chicago

Instagram: USKChicago


Tuesday, March 3, 2015

Lessons From Your Own Sketchbooks

Tuesday Tips & Tricks


With only 17 days until spring, there is light at the end of this wintry tunnel, and before you know it you will be able to sketch this incredible city outdoors again.  Every year around this time, I start getting antsy for the upcoming spring and summer months. After being cooped up and restricted by the subzero temperatures, short days and lake effect snow I am ready to get back outside and fill up new sketchbooks.  I am sure all of the Chicago sketchers can relate.  For those of you who have the privilege of sketching in a warm climate all year round, this may enlighten you to the struggles of a Chicago sketcher in the winter:

You might be a Chicago sketcher if....
  • You have sketched the view from your living room window this winter more times than you can remember.
  • You look out this same window hoping something new to sketch magically appears so you can satisfy your sketching needs.
  • you have had to out-sketch mother nature freezing the ink in your pens or watercolor pallets
  • you have put on more than three layers of clothing just to stay warm on a sketch outing
  • you have spent hours flipping through sketching blogs, galleries, books and old sketchbooks in anticipation for warmer weather and more sketching opportunities....
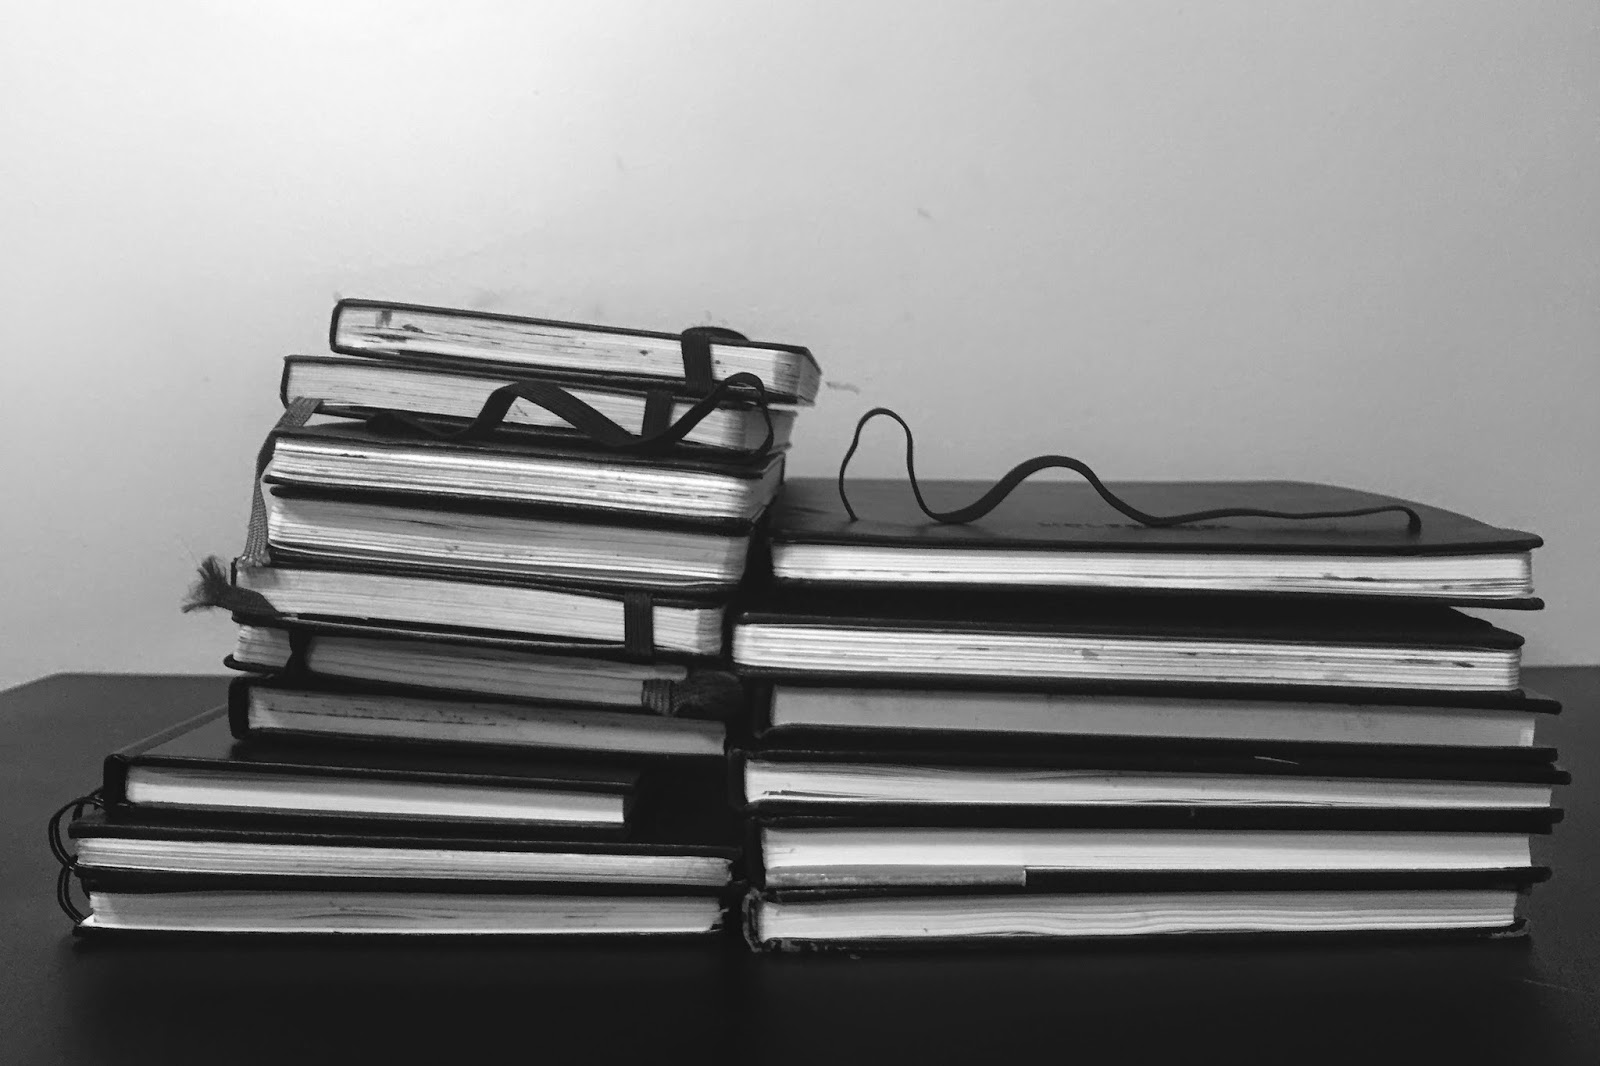
If you have been thinking about urban sketching  more than actually sketching lately, you have also likely thought about your personal sketching style and at some point wondered how you could develop it, improve it or take it in a different direction.  I know I have, and as I recently flipped through my collection of sketchbooks I was reminded of how incredibly valuable our own sketchbooks are as teaching tools.  So much of urban sketching is about experimentation, trial and error, process and spontaneity.  Whether you realize it or not, each sketch you create is a compilation of countless artistic decisions.  These decisions shape your sketching style and express the way you see the world around you on paper.

Every once in a while it is well worth our time to look back at old sketchbooks to see where our sketching journey began, what artistic thoughts were running through our mind, what types of media we were experimenting with, and which techniques worked and which didn't.  Did you take notes about some valuable insight you discovered in the process of creating a particular sketch?  The nature of urban sketching is so spontaneous that we often move onto the next sketch, forgetting all about the sparks of genius that happened in our past sketches.  There are so many opportunities for us to learn from and build upon our own work.  Taking a look at our past sketches is a great way to see how much we have grown, to be reminded of where our creative process was at different stages of our lives and how it has evolved.  

So, while we wait through the rest of what Chicago winter has to throw as us, my challenge for you is to dig up the very first sketchbook you ever kept and flip through it.  


Go through the rest of your sketchbooks until you get to your current sketchbook (or most recent sketches).  What are your gut reactions?  You will be reminded of all of the great work you have already done, all of of the places you have seen, and all of the techniques you have tested.  Here are some more questions to ask yourself while doing this.  I hope these will start turning some wheels about how much you can learn from your own sketchbooks:
  • What kind of things did I sketch?  Do I need to add variety to my choice of subject matter?
    • Have I challenged myself by choosing subject matter that is out of my comfort zone?
  • What different types of media have I tried?  
    • What have I learned about my favorite pens, paints, markers etc...and how they react to different types of paper?
  • What kinds of improvements do I see in my technique and how can I continue to build upon this?
    • Which artists or sketchers influenced my work early on, and who influences my work now?
  • What are 2-3 techniques I have always wanted to learn more about, but still have never gotten around to trying?
I hope that those questions begin to allow your sketchbooks to teach you.  Remember not to be too hard on yourself.  We can often be our own worst critics.  If you are looking to pick up some new sketching skills, USk Chicago will be hosting it's second annual Sketching Seminar in July.  More details about this will be on their way in the near future...

Best,
Andrew Banks


Tuesday, October 14, 2014

Composition is a big word

TUESDAY TIPS & TRICKS

Composition can be difficult to teach. Do this, don't do that… Unless you want to deliberately break the rules… And then it may or may not work… You stick to the rules - and it may end up boring. You break the rules - and it may end up unbalanced… What is a sketcher to do?

Composition is a skill, just like drawing or values or accurate color. This means that with practice a sketcher can develop a vision and understanding of the design as well as a feel for positioning of shapes within the boundaries of a drawing. By practicing composition it is possible to get and improve the sense and sensibility of what is composed well and as a result has a built-in beauty, and what needs improvement and what this improvement might be.

Composition is also a vast subject. This is another reason art students shy away from it.

Here I will suggest three things that can be practiced right away. They will work for on-location sketching without burying one's head in theory.

1. Balance positive and negative space

See that your actual objects of interest (positive space) and space around them (negative space) take more or less the same amount of space on your drawing.

Some examples:

- Crowded drawing - very little negative space


- Unfilled drawing - small subject surrounded by a lot of negative space


- Balanced drawing - subject and surrounding space take about the same amount of space


Remember a trick - an empty unfilled composition can be improved by creative cropping or borders.


2. Repetition and pattern

A human eye loves pattern. When we see and recognize repeating shapes it makes us feel clever and calms us. Repeats and patterns give an image rhythm and make it dynamic and lively.


3. Connection

Let your subjects and objects connect, touch and overlap. This is one and an obvious way to keep the composition together, like holding hands.

The other way to connect is by intent, using directional lines and visual tension.

Here's an example of a composition with overlapping objects:


In the following sketch three groups of people are connected by individual figures situated between the groups. These figures create the tension that holds the composition together:


So what to do now?

Now that you have these insights, it is time to practice them. When you chose your subject or view, take another minute and make a tiny plan. Here's an example of such plan: "I will include this bridge, and the river with its interesting colors and these trees on the right bank. I will leave out these buildings on the right shore, and a willow tree on the left… they will overcrowd my drawing." Better yet, make a thumbnail sketch and see how it looks.

Take the view you are sketching and make it into a design. Emphasize patterns if they are there. Look for geometrical patterns, color patterns, contrast patterns.

Check if your shapes connect/overlap or stand alone. If they are standing alone, is there a way create a connection or directional pull to tie the composition together? Even if there is not, you have taught yourself something about composition by having tried. 


Tuesday, October 7, 2014

Playing with Line

Nutmeg © Barbara Weeks


TUESDAY TIPS & TRICKS
A line drawing is like a solo piano. It can express everything from the even cadence of practicing scales, to the emotion of a concerto, to the novel rhythm of a jazz improvisation, and all with just a single instrument! A 2B pencil is usually my instrument of choice but a ballpoint, a fountain pen, a fiber-tipped pen or even a stick can bring its own distinct qualities to a sketch. 

There are many reasons to explore line as a drawing technique. Here's just a few:
  1. It comes naturally to us. Watch a child draw with abandon using line. We all unconsciously doodle with line. We should stretch and develop this natural tendency.
  2. Line emphasizes shape and helps us see structure. 
  3. It can be a quick way to get fleeting impressions of our surroundings down on paper.
  4. A single line can be slow and sensitive describing the attitude of a shoulder or the roll of a hilly landscape.
  5. Line can show the erratic movement of a crowd or the scratchy texture of a piece of toast.
  6. A confident and varied line can give even the most mundane subject character.
Starbucks © Barbara Weeks
Toast © Barbara Weeks


A few tricks:
  1. Vary the pressure on your line from heavy to light to disappearing to show volume and distance. 
  2. Restate a line when searching for a shape or form. Don’t erase the old line. It will add life and energy to the drawing.
  3. Practice making lines that describe different textures such as smooth, hard, soft, hairy.
  4. Practice freehand drawing straight (well, straightish) lines on the paper varying the  thickness. When I practice I usually make two dots at least three inches apart and then connect the dots. and work down the page. It will give you a sure hand and a confident line. It’s like practicing the scales on the piano.

Ouch! © Barbara Weeks
African Ape © Barbara Weeks
A beautiful painting is a wonder to behold but there is much to be said for the simple power of a line drawing. It’s like a full orchestra and a solo piano.


Tuesday, September 2, 2014

Tuesday Tips & Tricks: "Perspective for the Urban Sketcher: Using the Sighting Technique"

One of the most challenging techniques to master in on-location sketching is perspective.  Many people shy away from architectural, city scenes or subjects involving vanishing points because of all of the rules involved.  Even when following the rules, it’s pretty difficult to achieve a completely accurate record of the actual scene.  Most of the time when we sketch on location we use small to medium sized sketchbooks.  More often than not, the vanishing points will fall well off of the edge of our pages, making it impossible to calculate the actual vanishing points.  Lastly, when we are urban sketching, we don’t always have a lot of time to analyze and perfect the perspective.  However, a technique I use, called Sighting, will enable you to draw in perspective quickly, and without needing to fully construct a perfect set of vanishing points.

Sighting is based off of the principles of perspective, but is a shortcut, so to speak, and a great, simple trick to use in both shorter and lengthier sketching sessions.

Before moving to the step by step explanation, there are 2 rules that must be followed in order for this to work.  Keep these in mind while reading about and using the technique.  These rules are crucial and sighting will not work unless they are followed.

Rules:
  • Once you decide where to sit and sketch, you must stay in the same spot until you have at least marked out your perspective lines.  (Once you move, your point of view changes, thus your horizon line and vanishing point(s) will change as well).

  • For consistency, hold your sketchbook in one position until you have at least marked out your perspective lines.  For example, if the sketchbook is sitting flat on your lap for the first half of the sketch, do not tilt it up for the second half of the sketch.  This will ensure consistency in the transferring of your lines.

Sighting: Step by Step

1) I use a thin, straight, wooden skewer and that I carry with me all the time in my travel kit.  A pen or pencil will work fine too, but the longer and thinner the sighting tool, the more accurate of a reading you will get and the easier it will be to see.  About 6”-8” is plenty.


2)
Hold the sighting tool at one end.

3) Fully extend your arm out and hold the sighting tool parallel with your body.  This is important.  Do not tilt the tool outward towards the subject, or inward toward your body.  You will only get an accurate reading if the tool is parallel with your body.

4)
Align the tool with the edge of the receding line.  Here I am aligning it with the roof line of the building.  (You will want to place your tool directly on top of the edge when actually doing this.  I put the tool slightly above the edge so it easier for you to see.)  Imagine the hands of a clock.  Only rotate your tool like the hands on a clock would rotate around the center point.

5) Hold the angle of the tool and slowly place the tool on your paper and draw the line.  (I do not mean to imply to use the tool as a ruler, just as a visual guide.)  I usually map out perspective line in pencil because you will need to double check and edit your lines as you go.  The more you do this, the better you will get at transferring the lines and soon enough you will not need to edit. 


Therefore, once you have drawn your line,

6) Double check your line and repeat steps 3,4 and 5 again to make a revised version of the first line.  With a line already drawn, it is easier to compare what you have drawn to what you are sighting, and you can make changes relative to what you have drawn.

7) Repeat steps 2-6 for all of the lines you do not feel comfortable free handing and remember to follow the two rules I mentioned at the beginning.

Here is quick sketch I completed using the sighting technique.  Take a look at all of the different angles that are transferred to the sketch.


I hope this is helpful!  Feel free to ask any questions!

-Andrew Banks